Adri Code Agent: Complete Onboarding Guide
This guide helps first-time users go from account creation to a successful first prompt in Adri Code Agent.
Code Agent requires an active subscription. This guide walks you through creating an account, buying a subscription, and writing your first prompt in Code Agent.
What You Will Complete
In this flow, you will:
- Create an Adri account
- Create a project
- Activate billing
- Open Code Agent in the correct project
- Enable your SAP user from Systems
- Run your first prompt
Setup Flow (User Version)
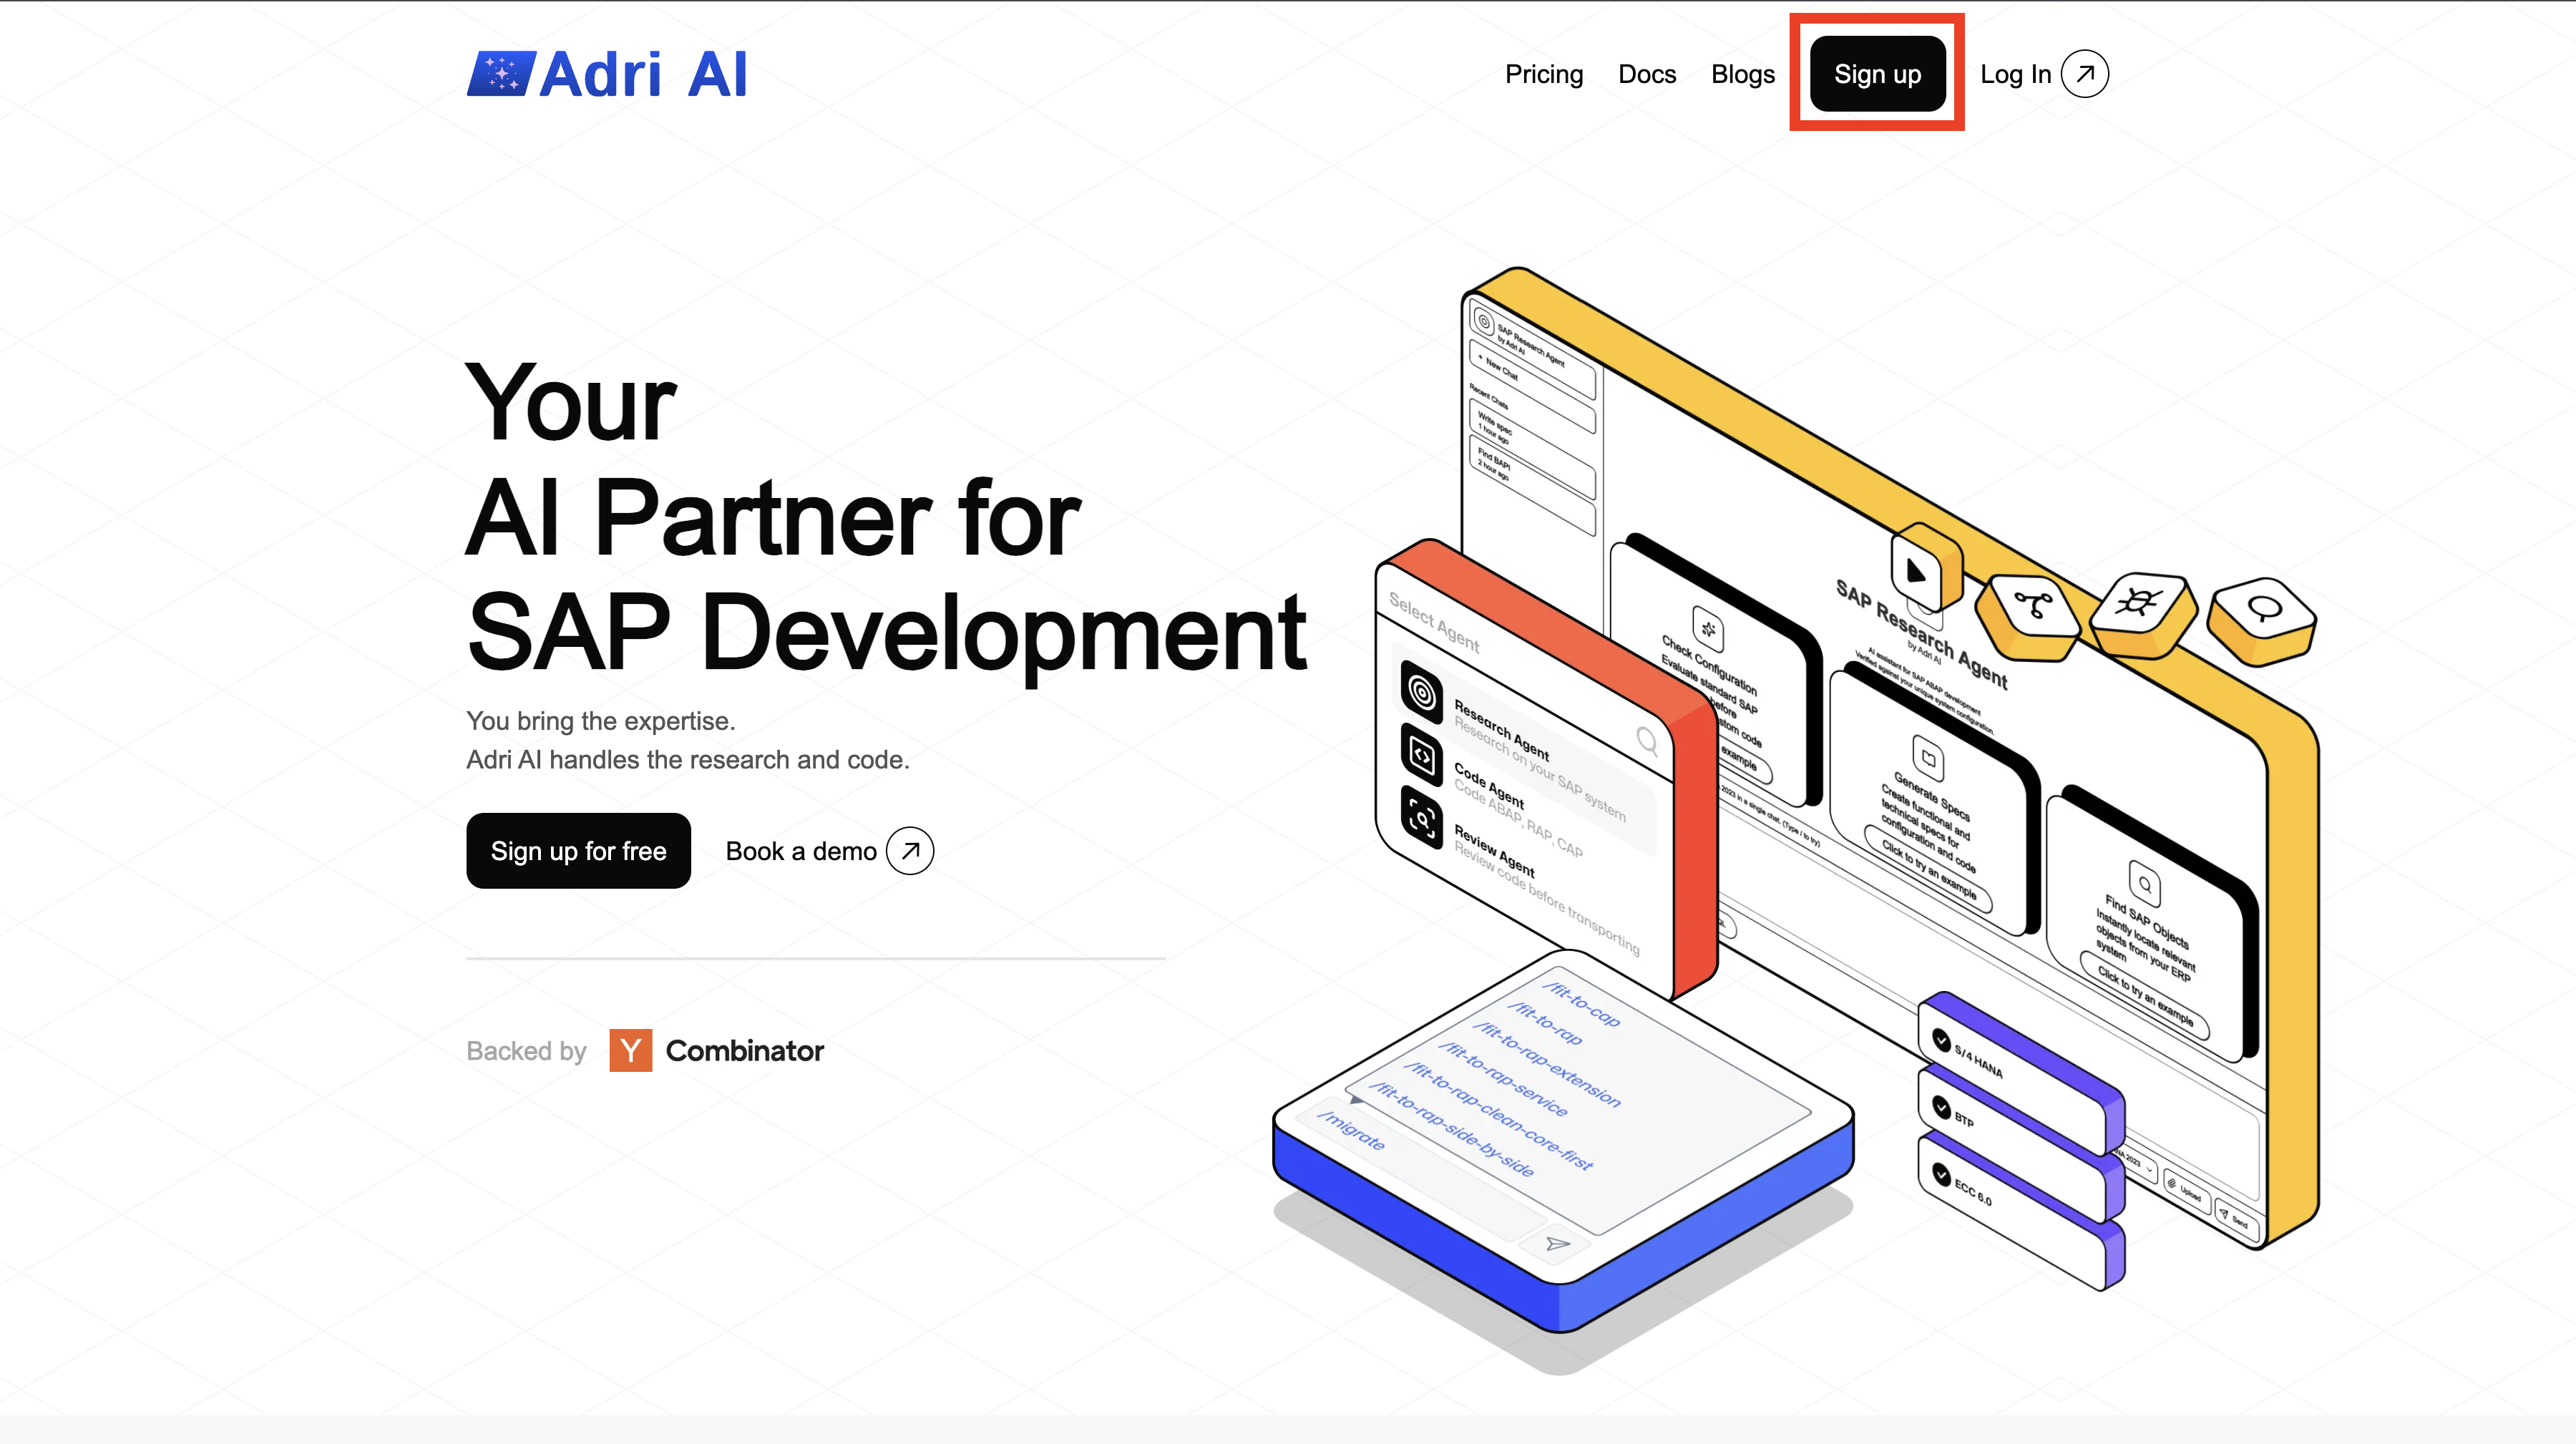
Step 1: Sign Up on Adri
- Open getadri.ai/signup.
- Click Sign up (if needed) and complete registration.
- If you already have an account, use getadri.ai/login.
Done when: You are prompted to verify your email.
Step 2: Verify Email and Complete Profile
- Open the verification email and click the verification link.
- Fill in your basic details.
- Submit the form.
Done when: You land on the Projects page.
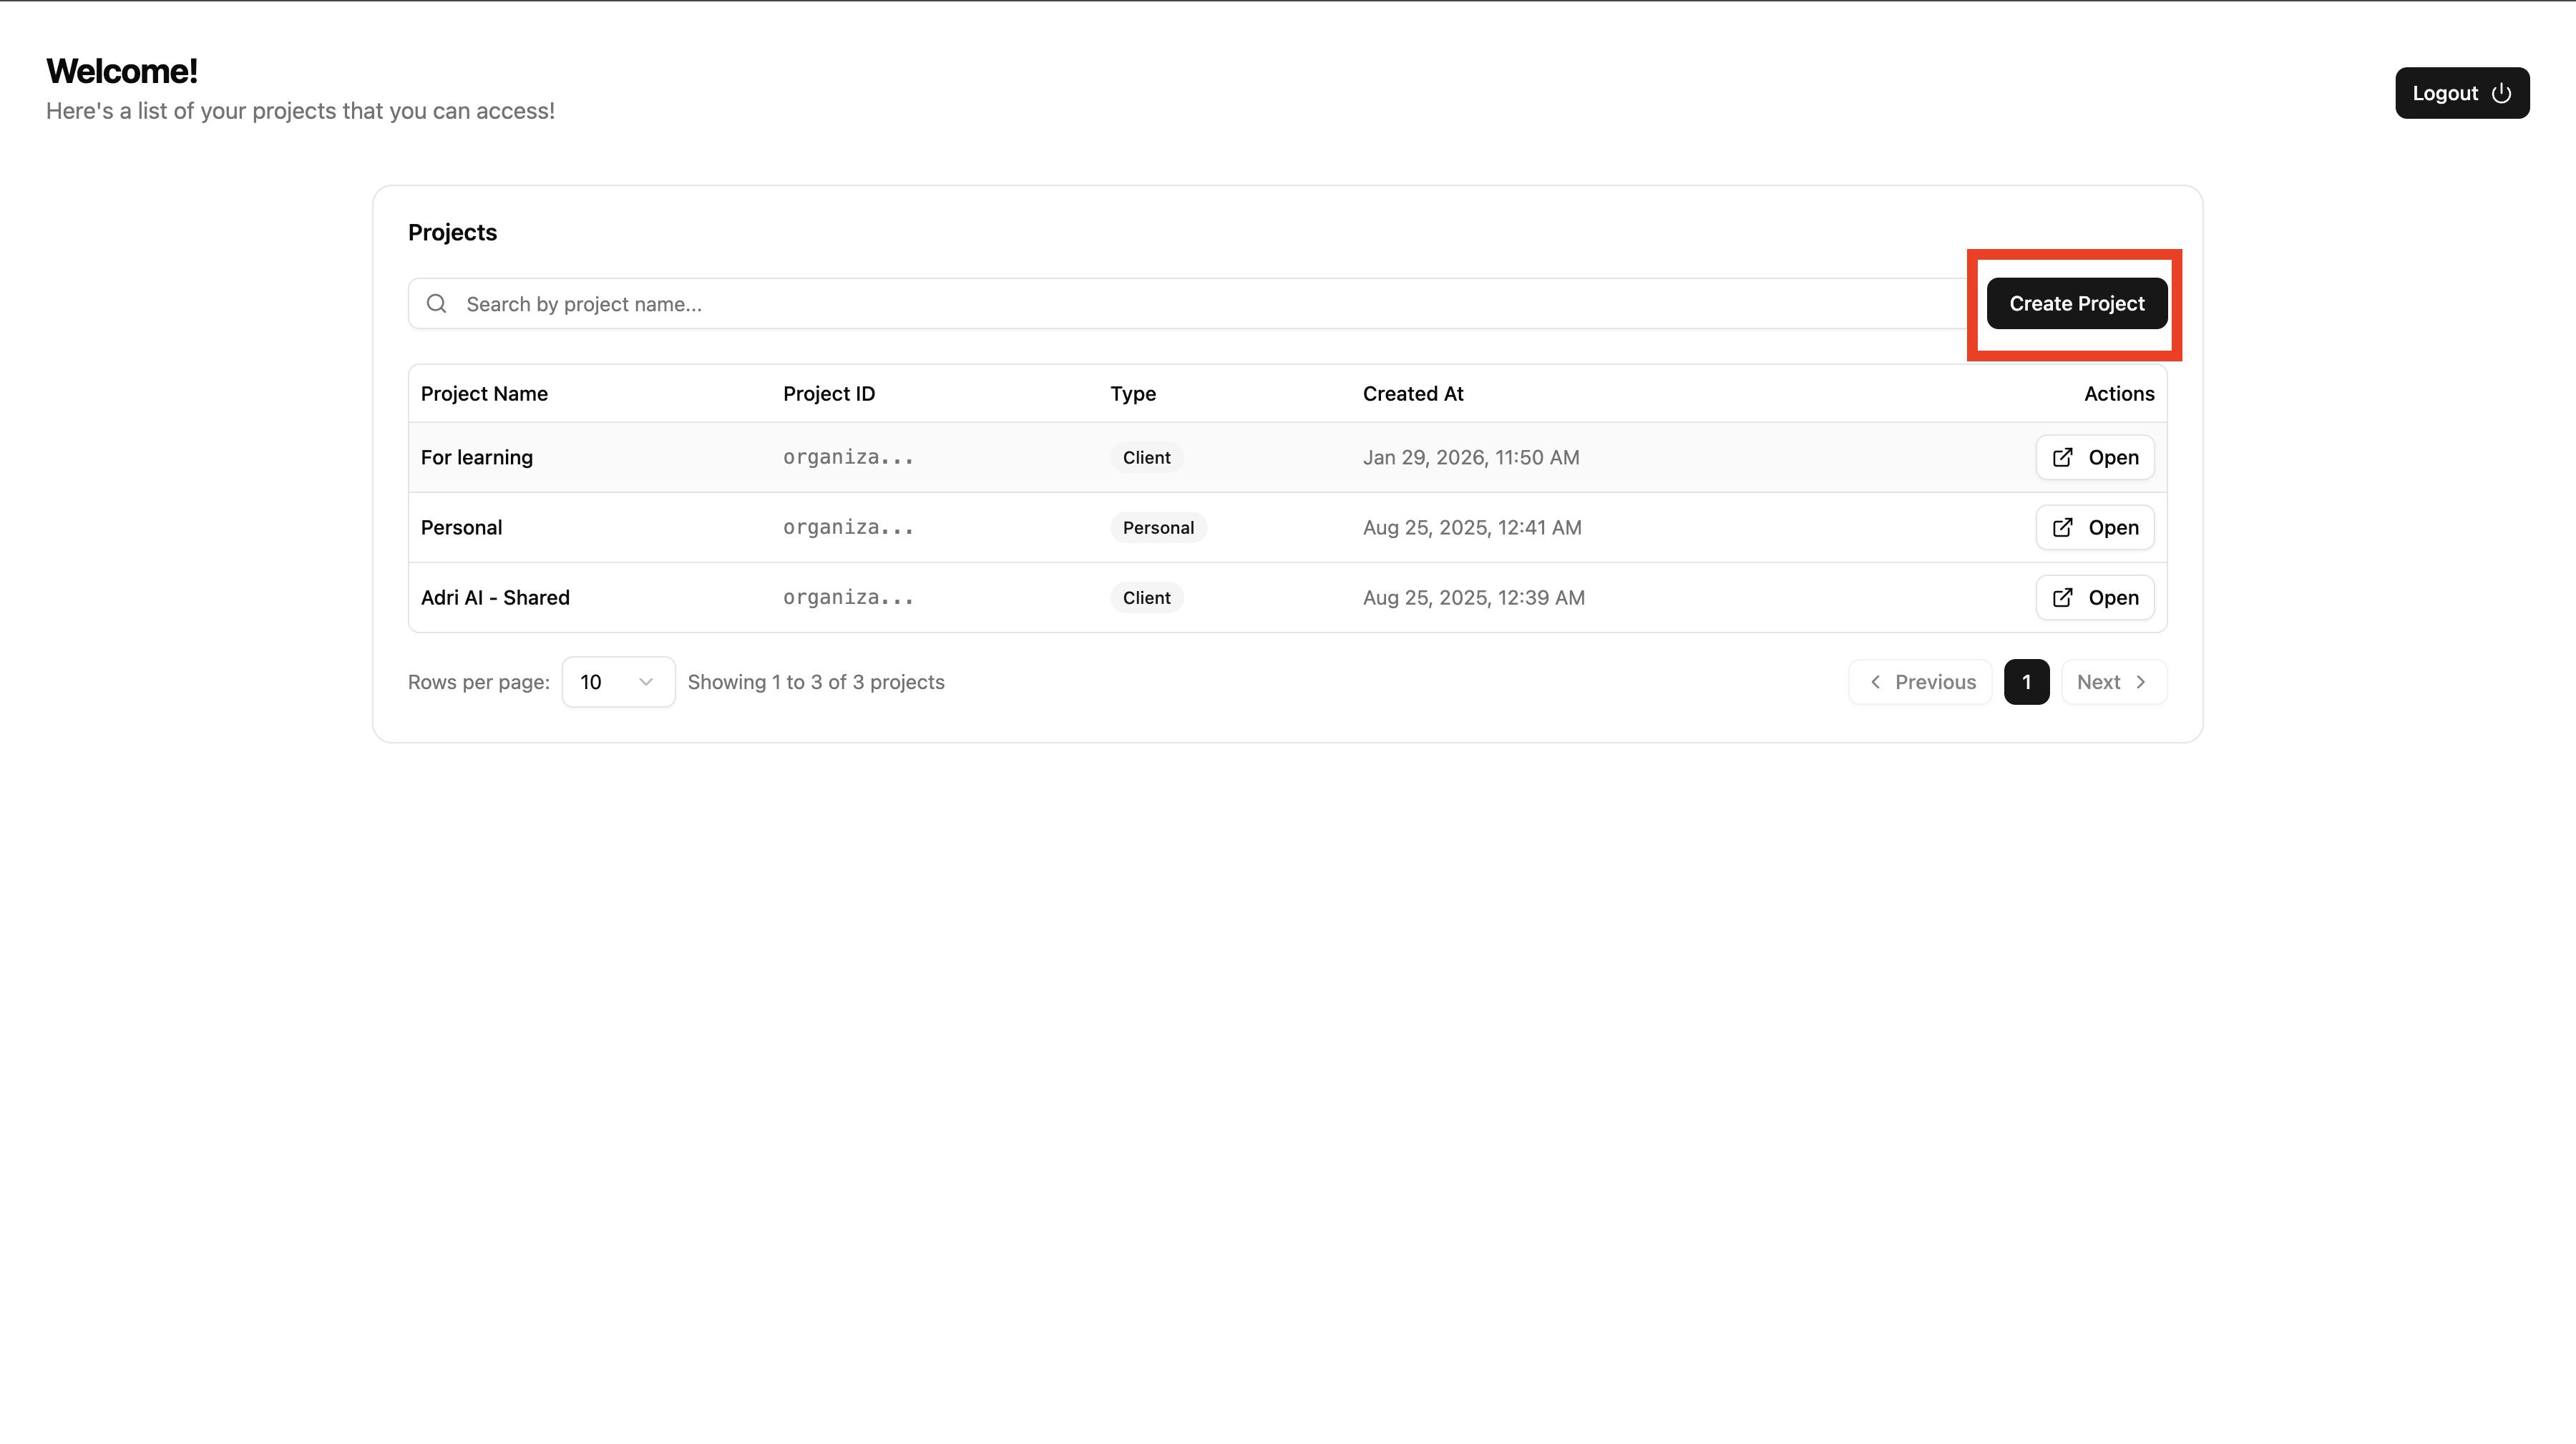
Step 3: Create a Project
- Open getadri.ai/projects after logging in.
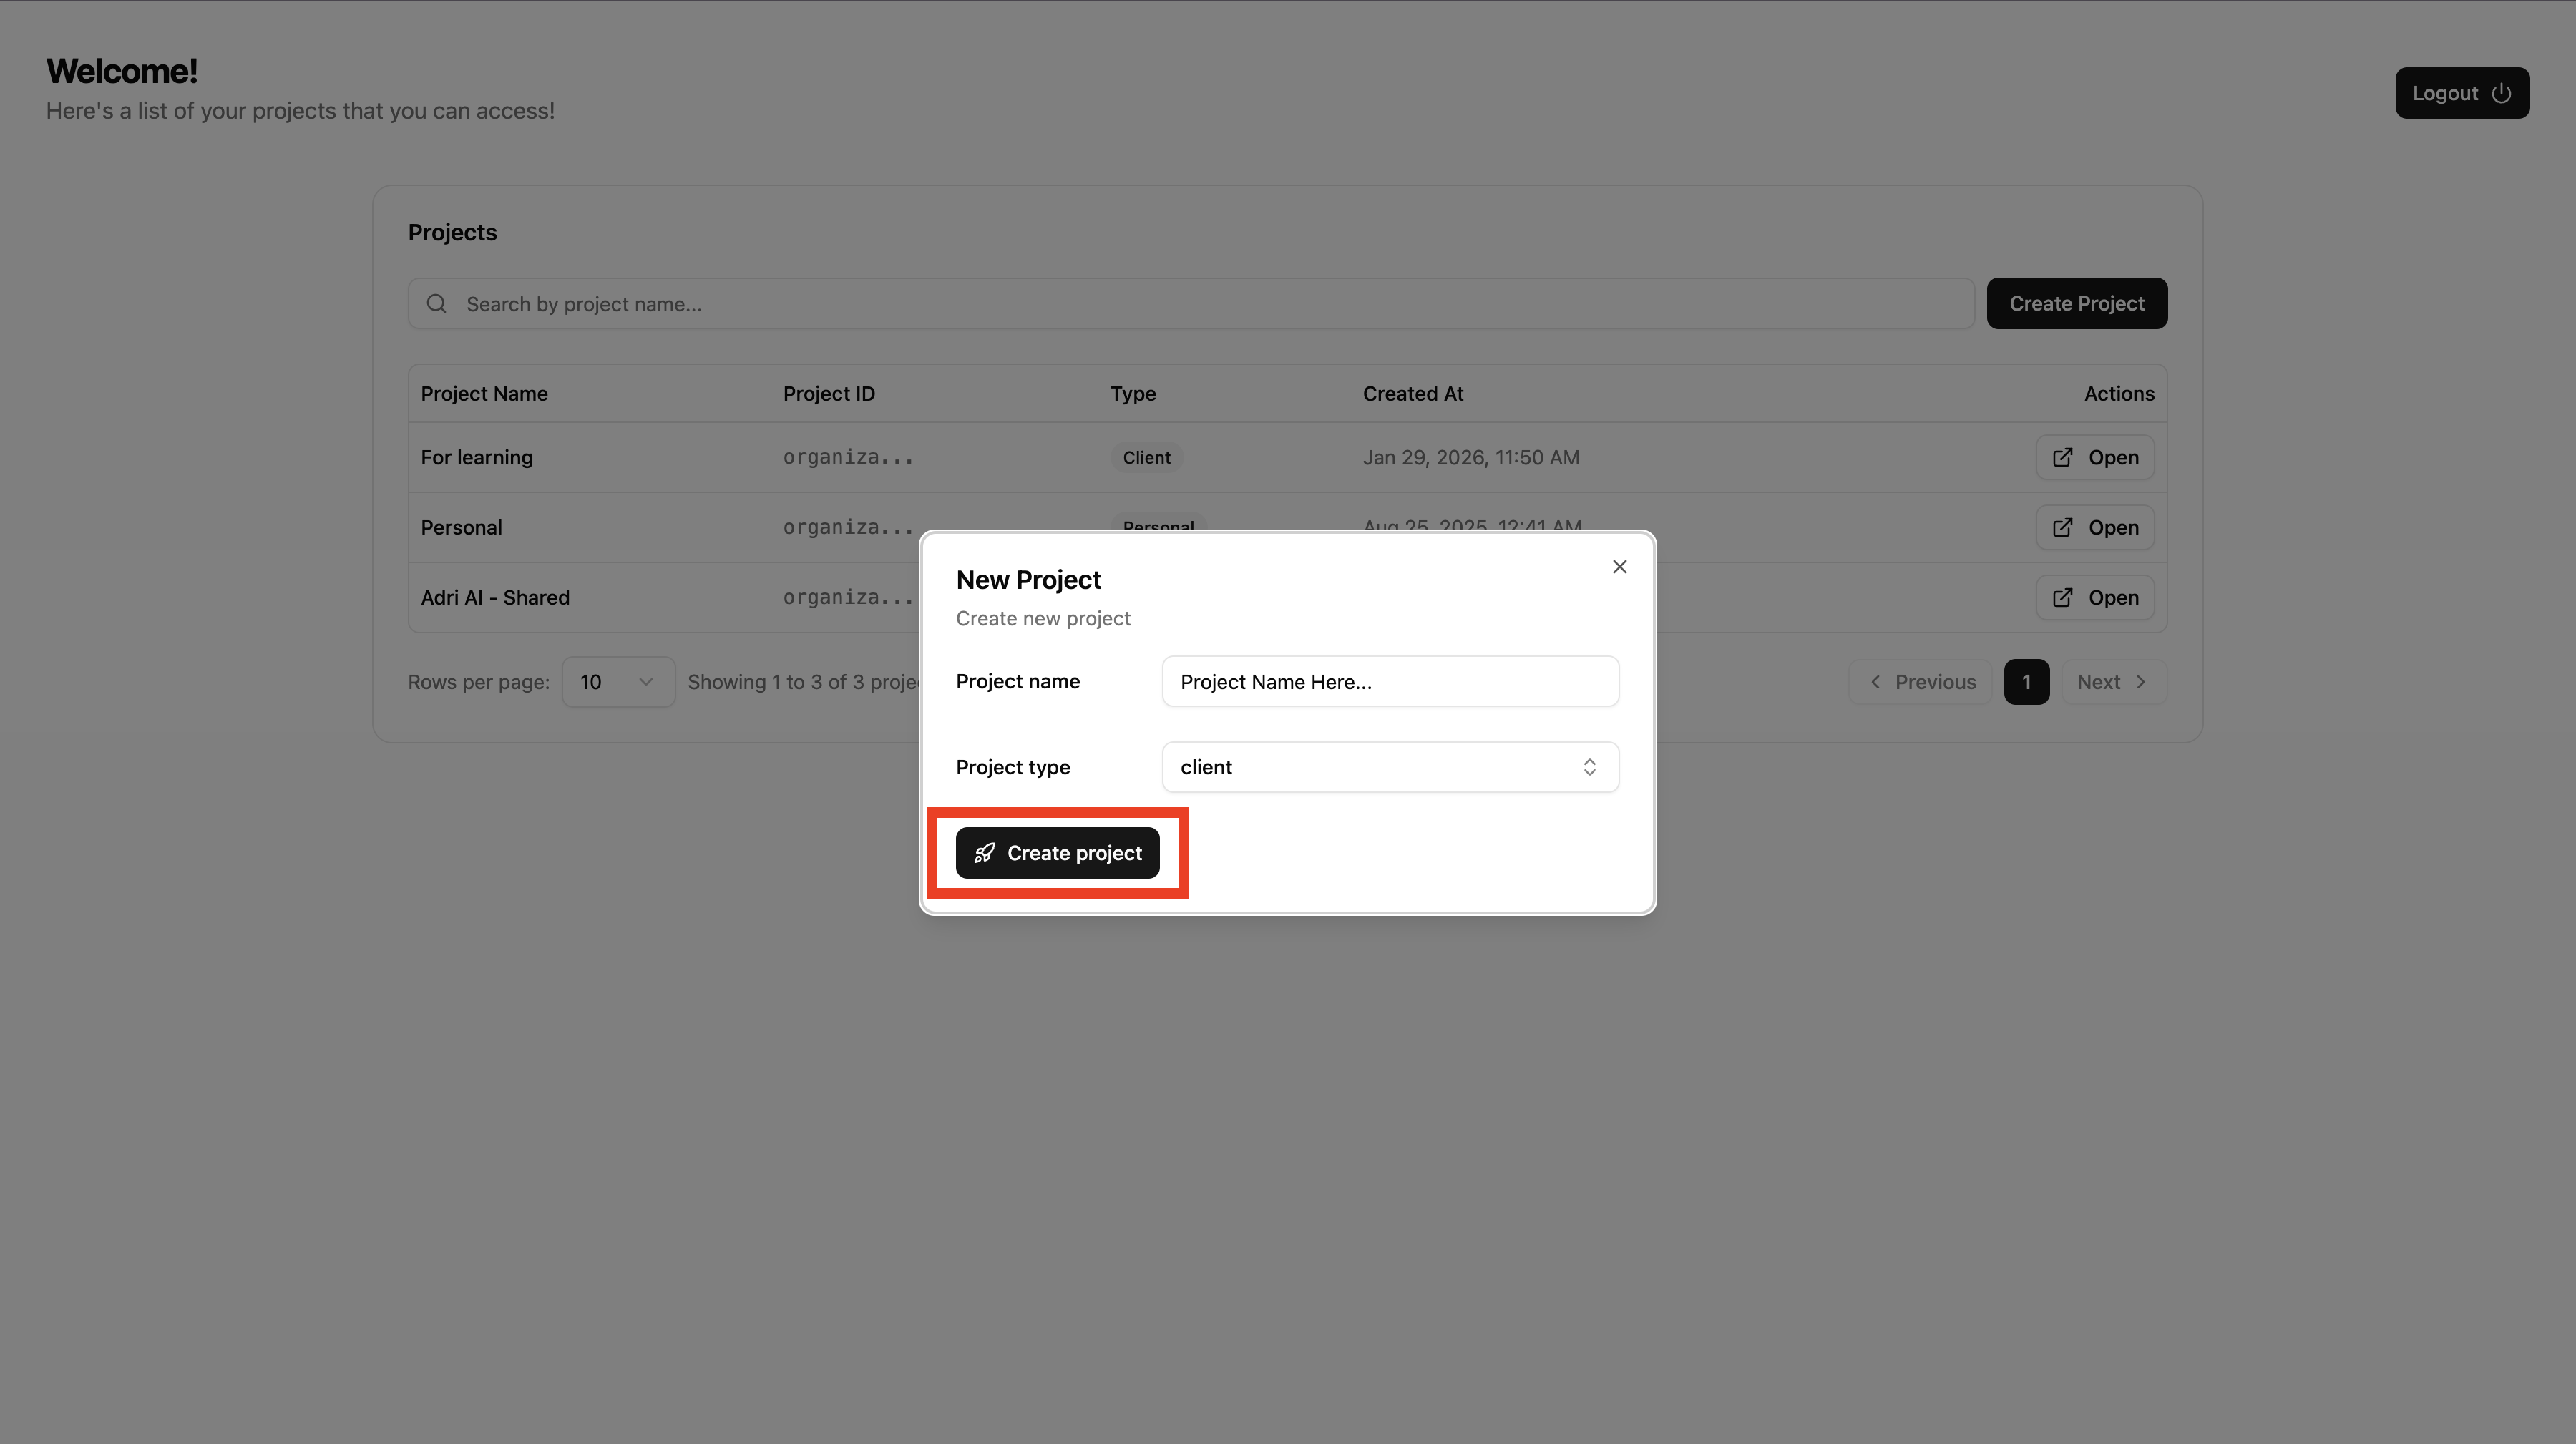
- On the Projects page, click Create Project.
- Enter the project details.
- Click Create to confirm.
Done when: You are redirected to your newly created project.
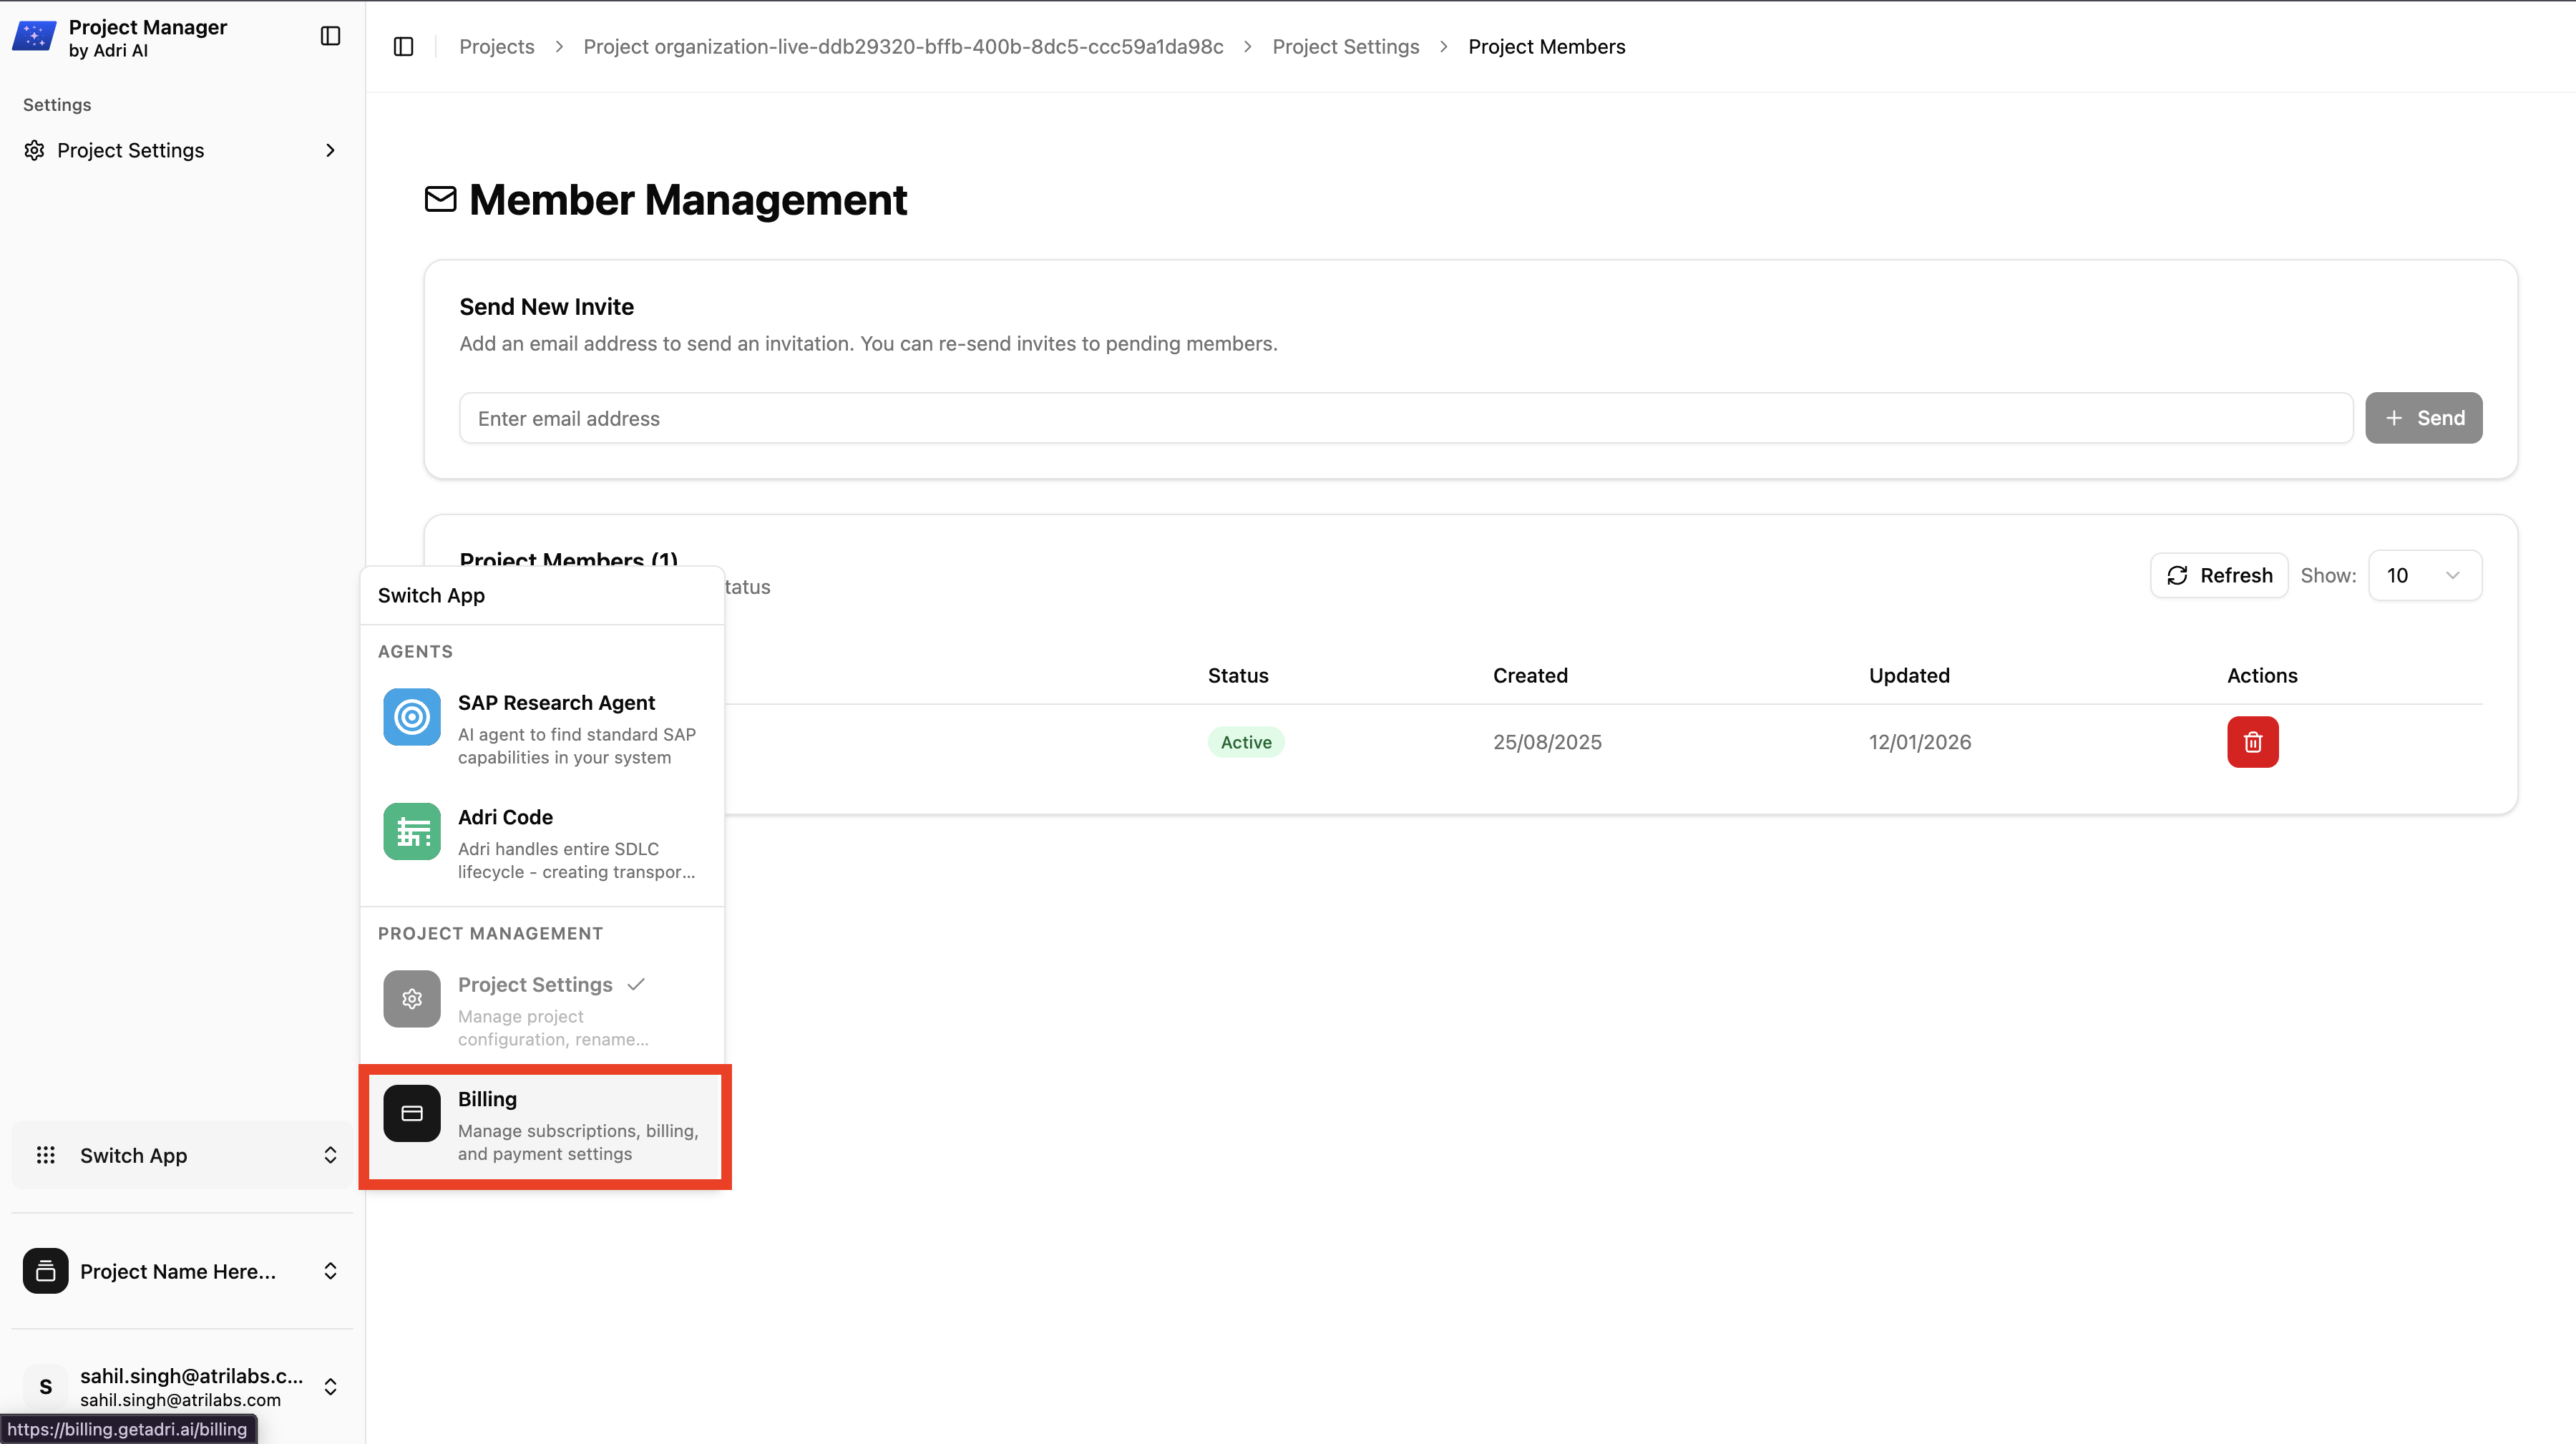
Step 4: Activate Billing
- In the left sidebar, click Switch App.
- Choose Billing.
- Enter billing name and billing email.
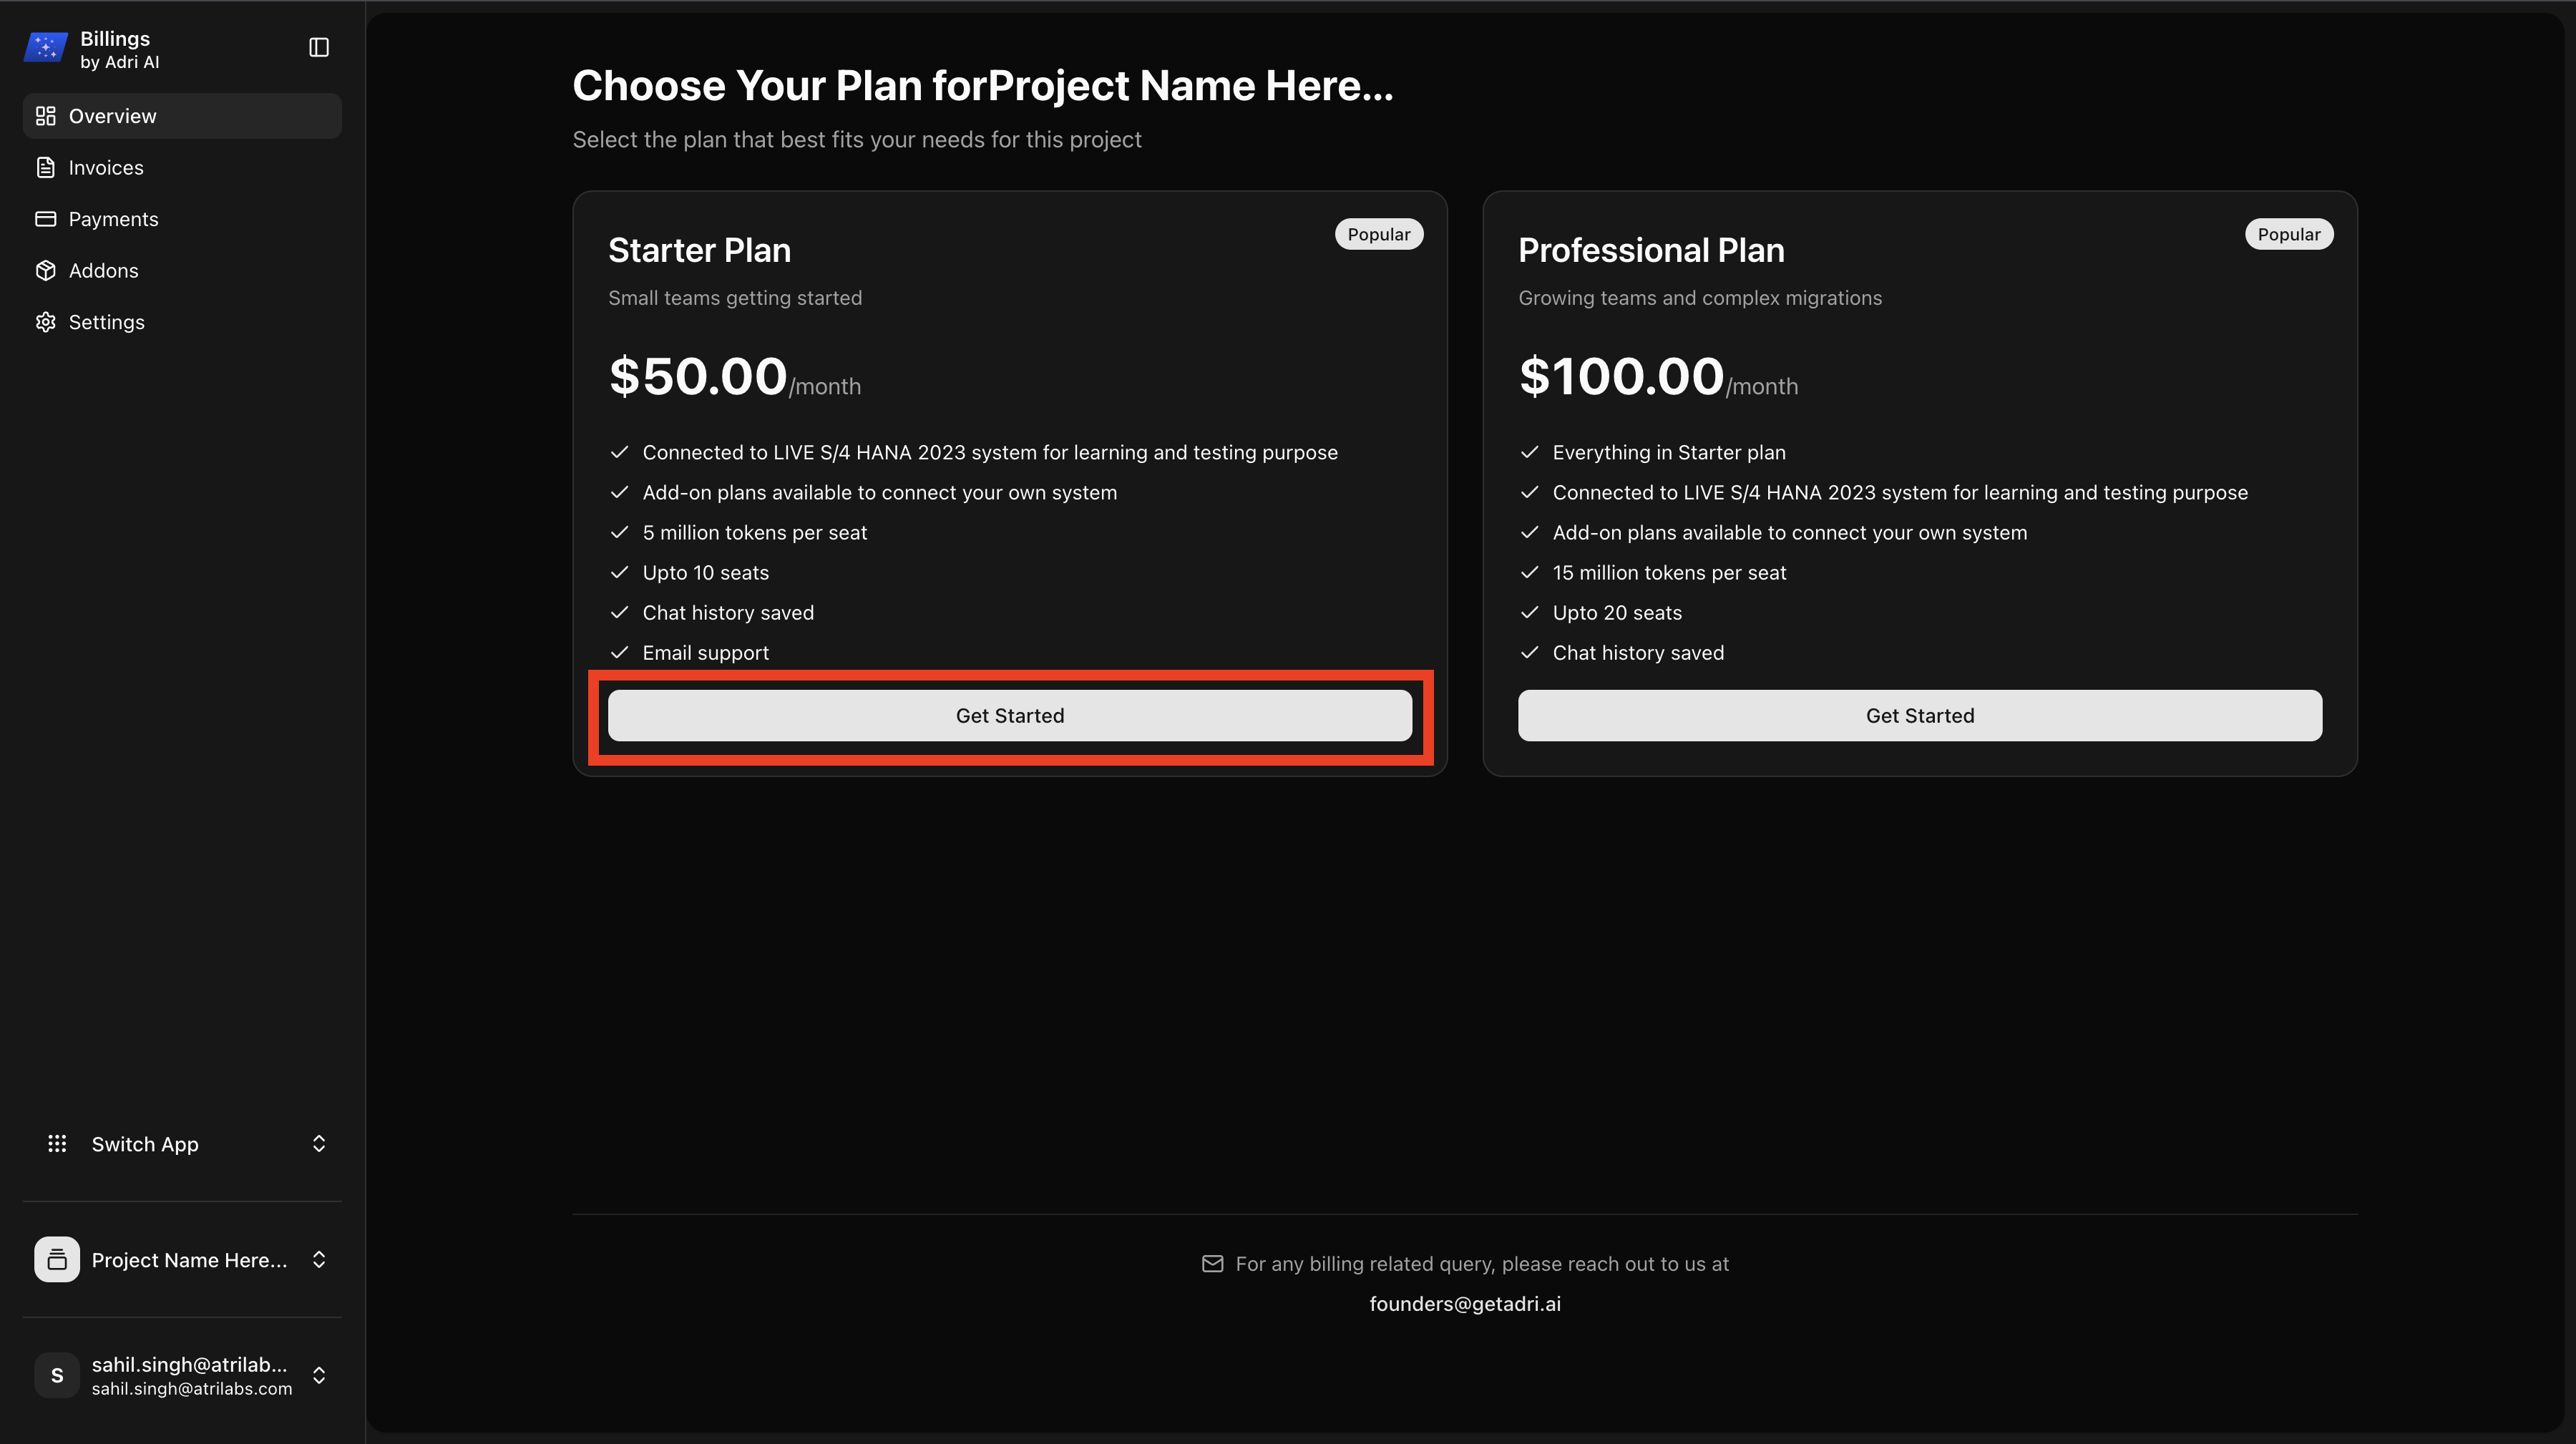
- Open Overview.
- Select a plan (recommended: $50 plan).
- Complete Stripe checkout.
Done when: Billing shows an active subscription.
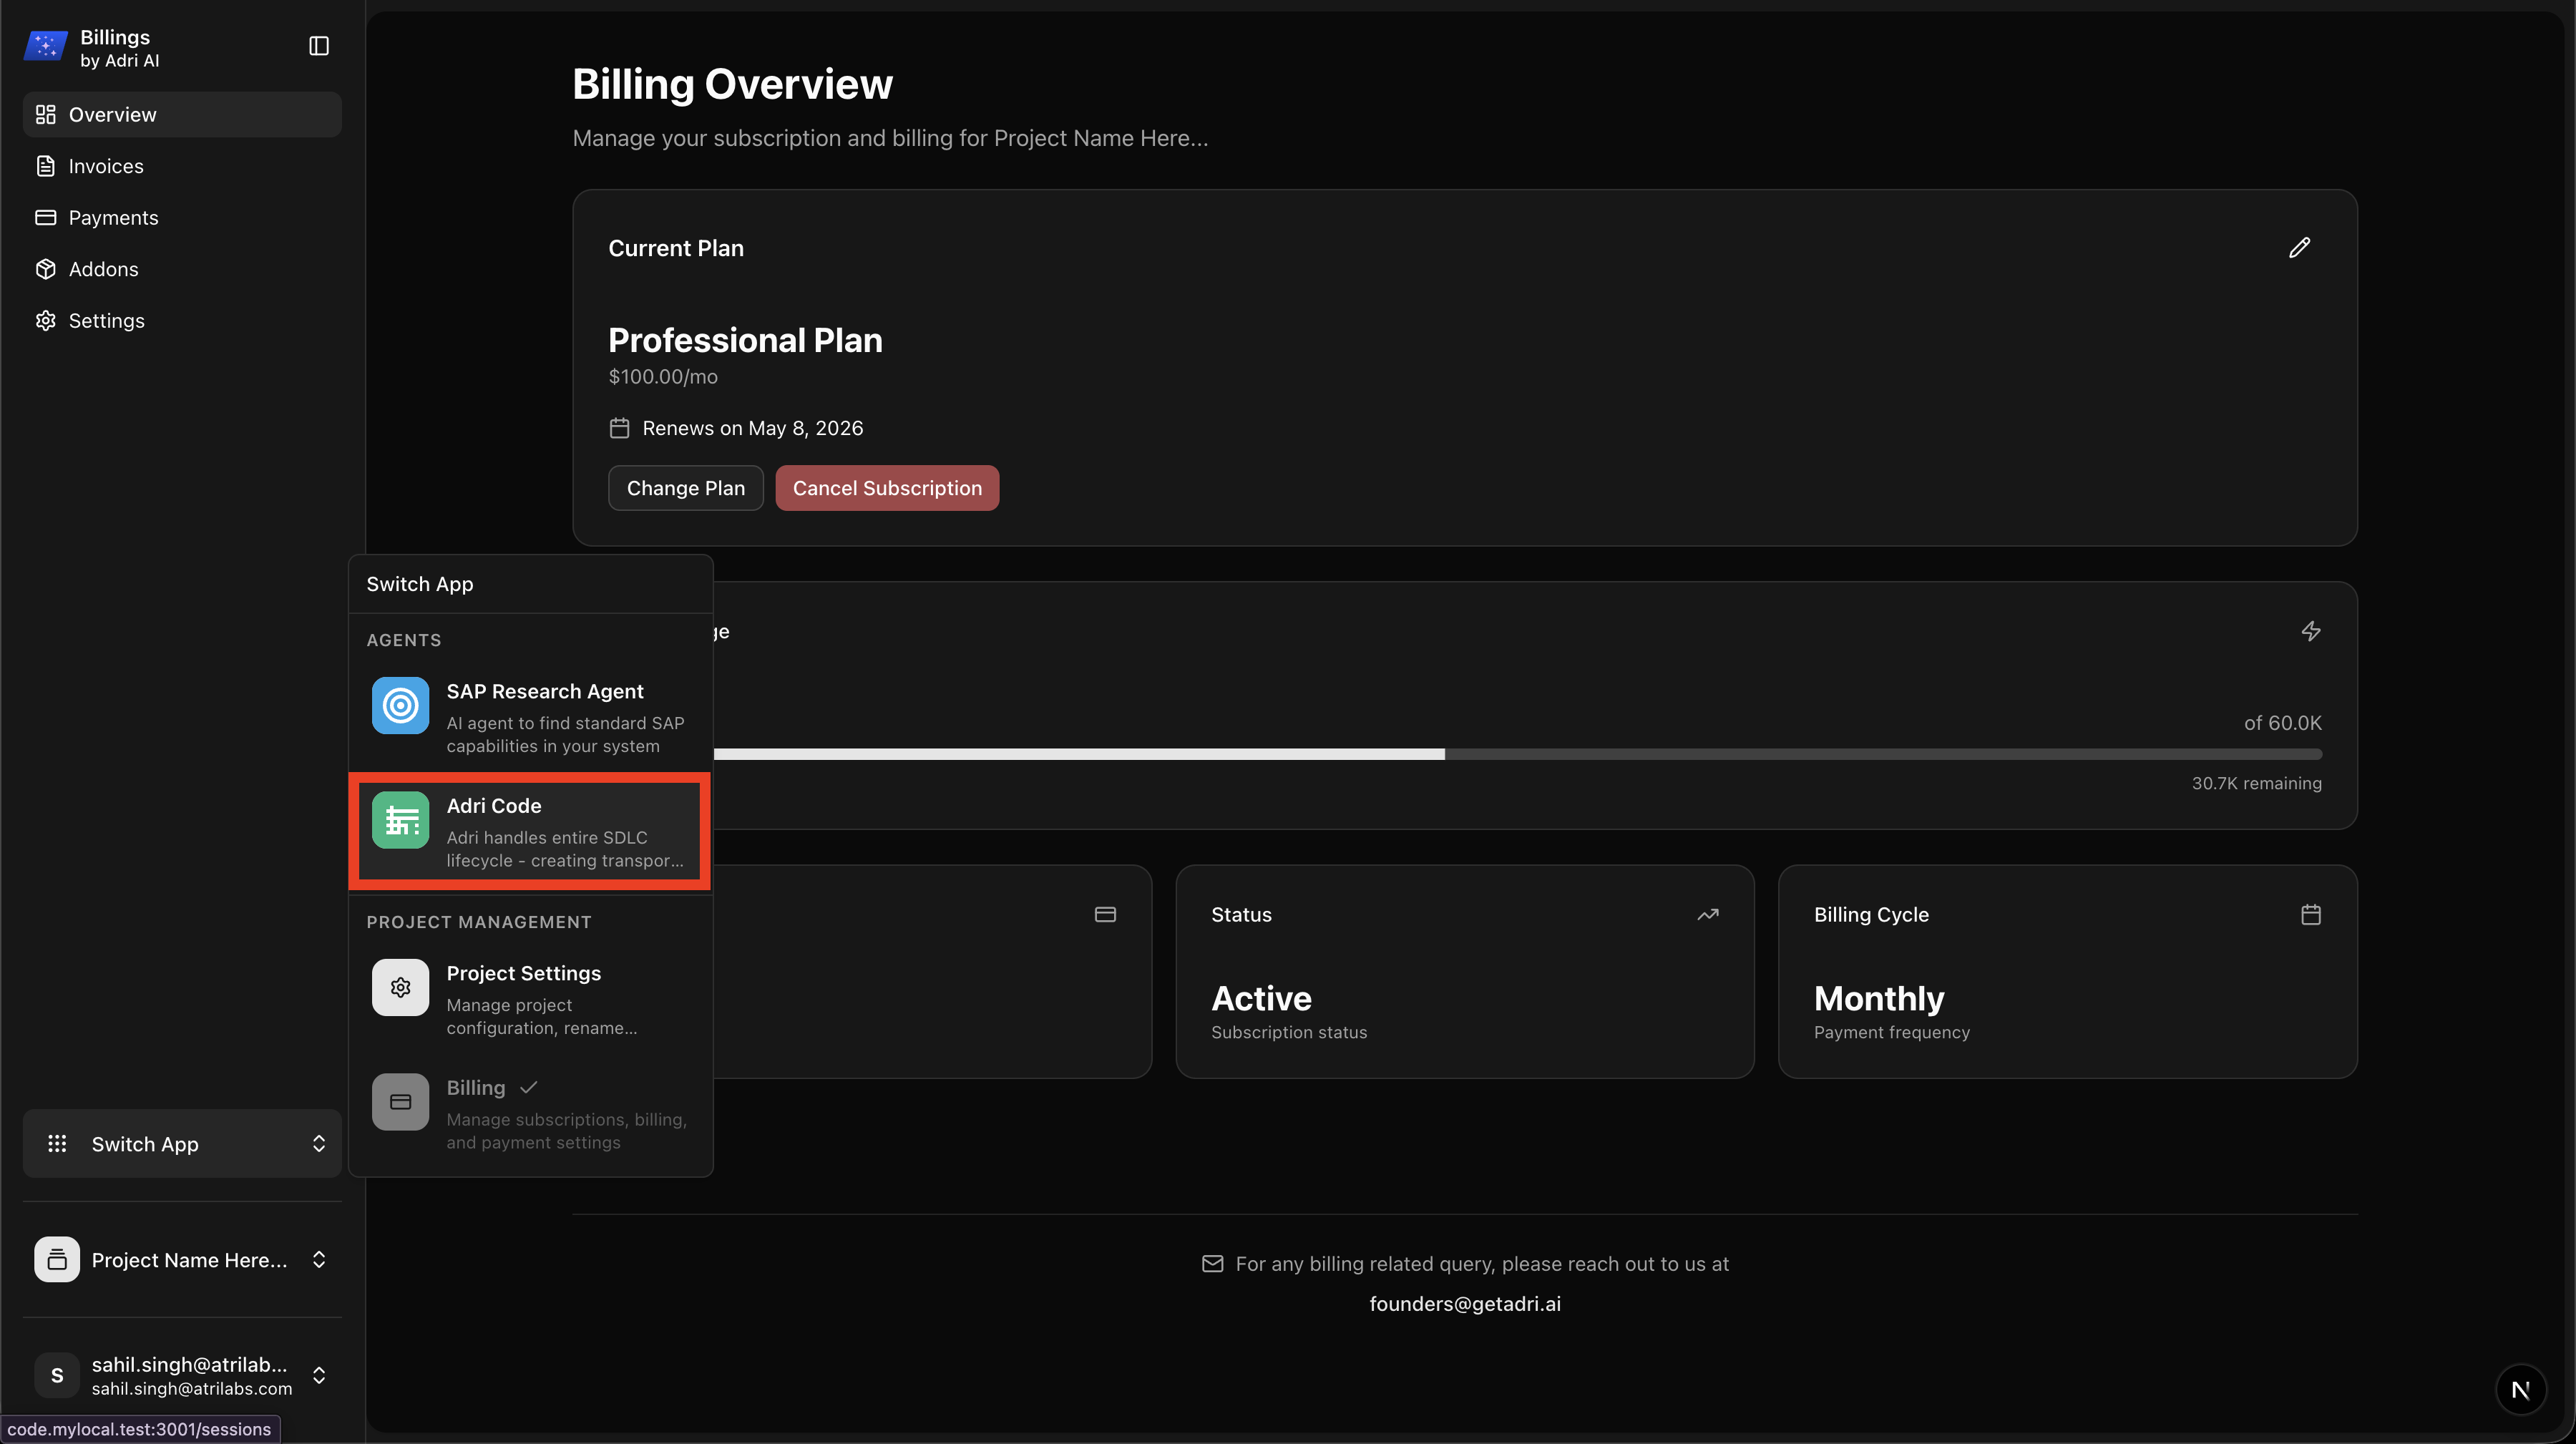
Step 5: Open Code Agent in the Correct Project
- Open code.getadri.ai.
- Verify the active project name.
- If needed, use Project Switcher (below Switch App) to switch to the project created above.
Done when: Active project in Code Agent matches your billed project.
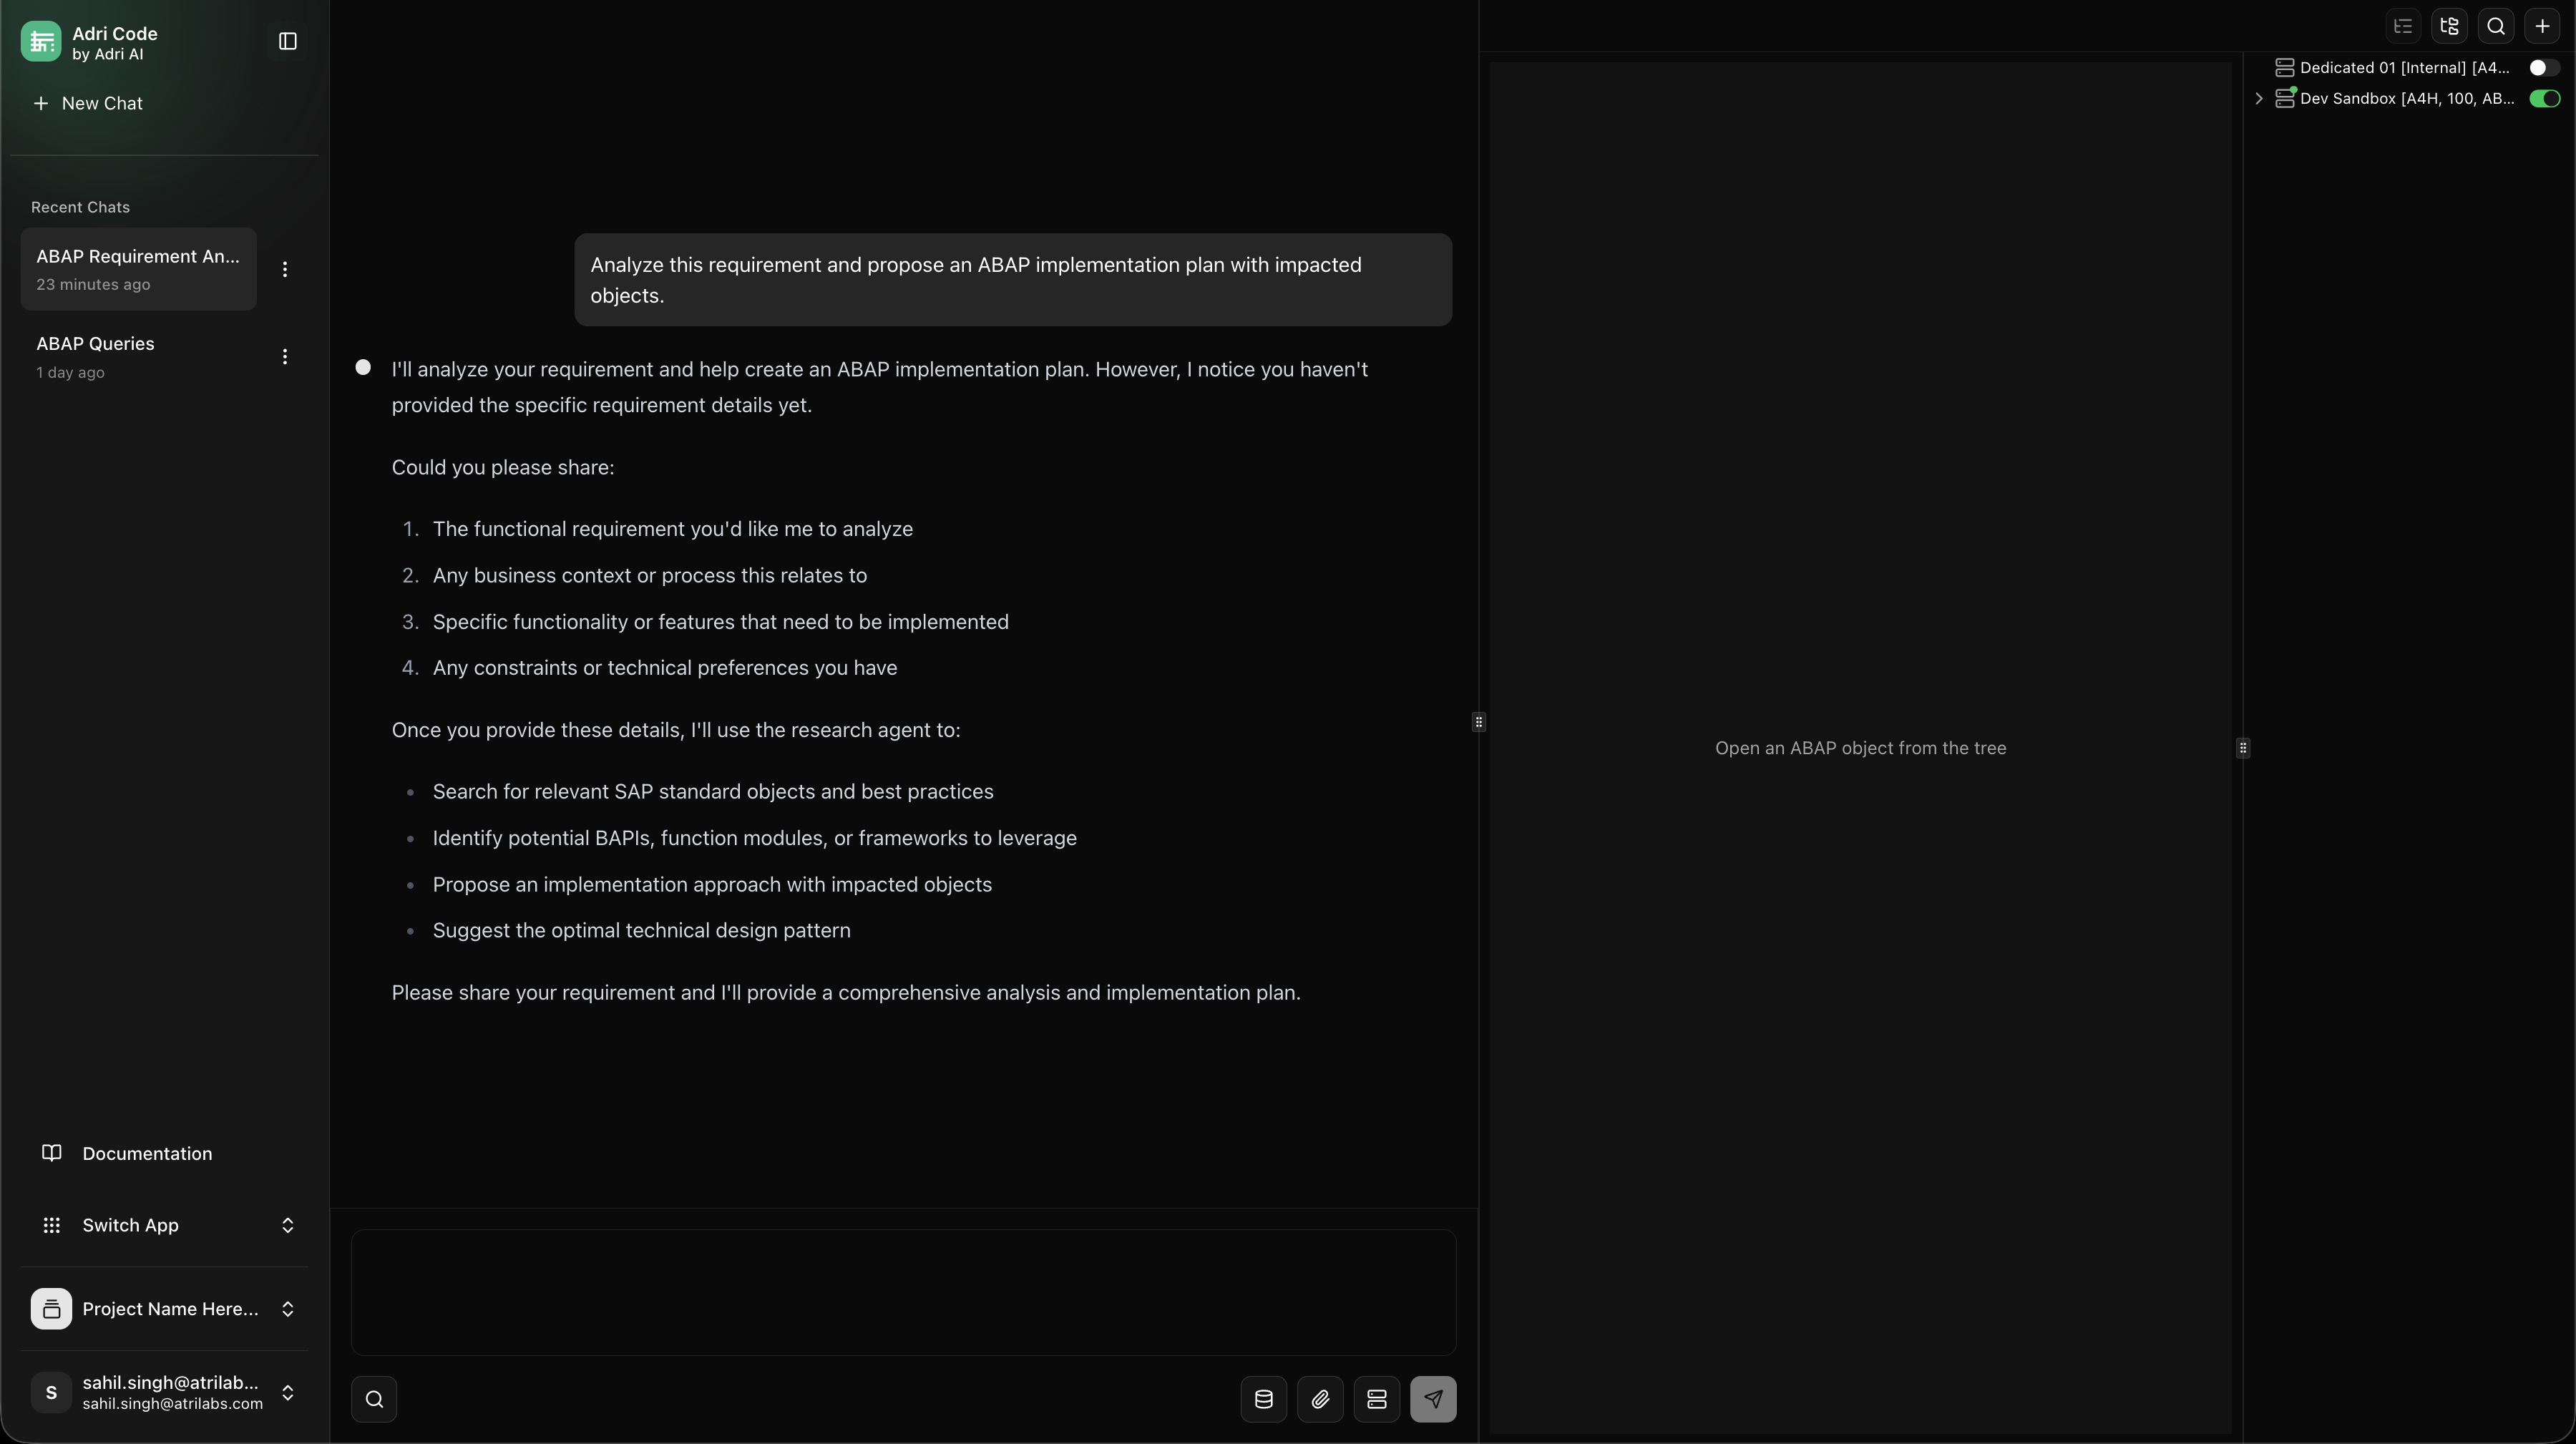
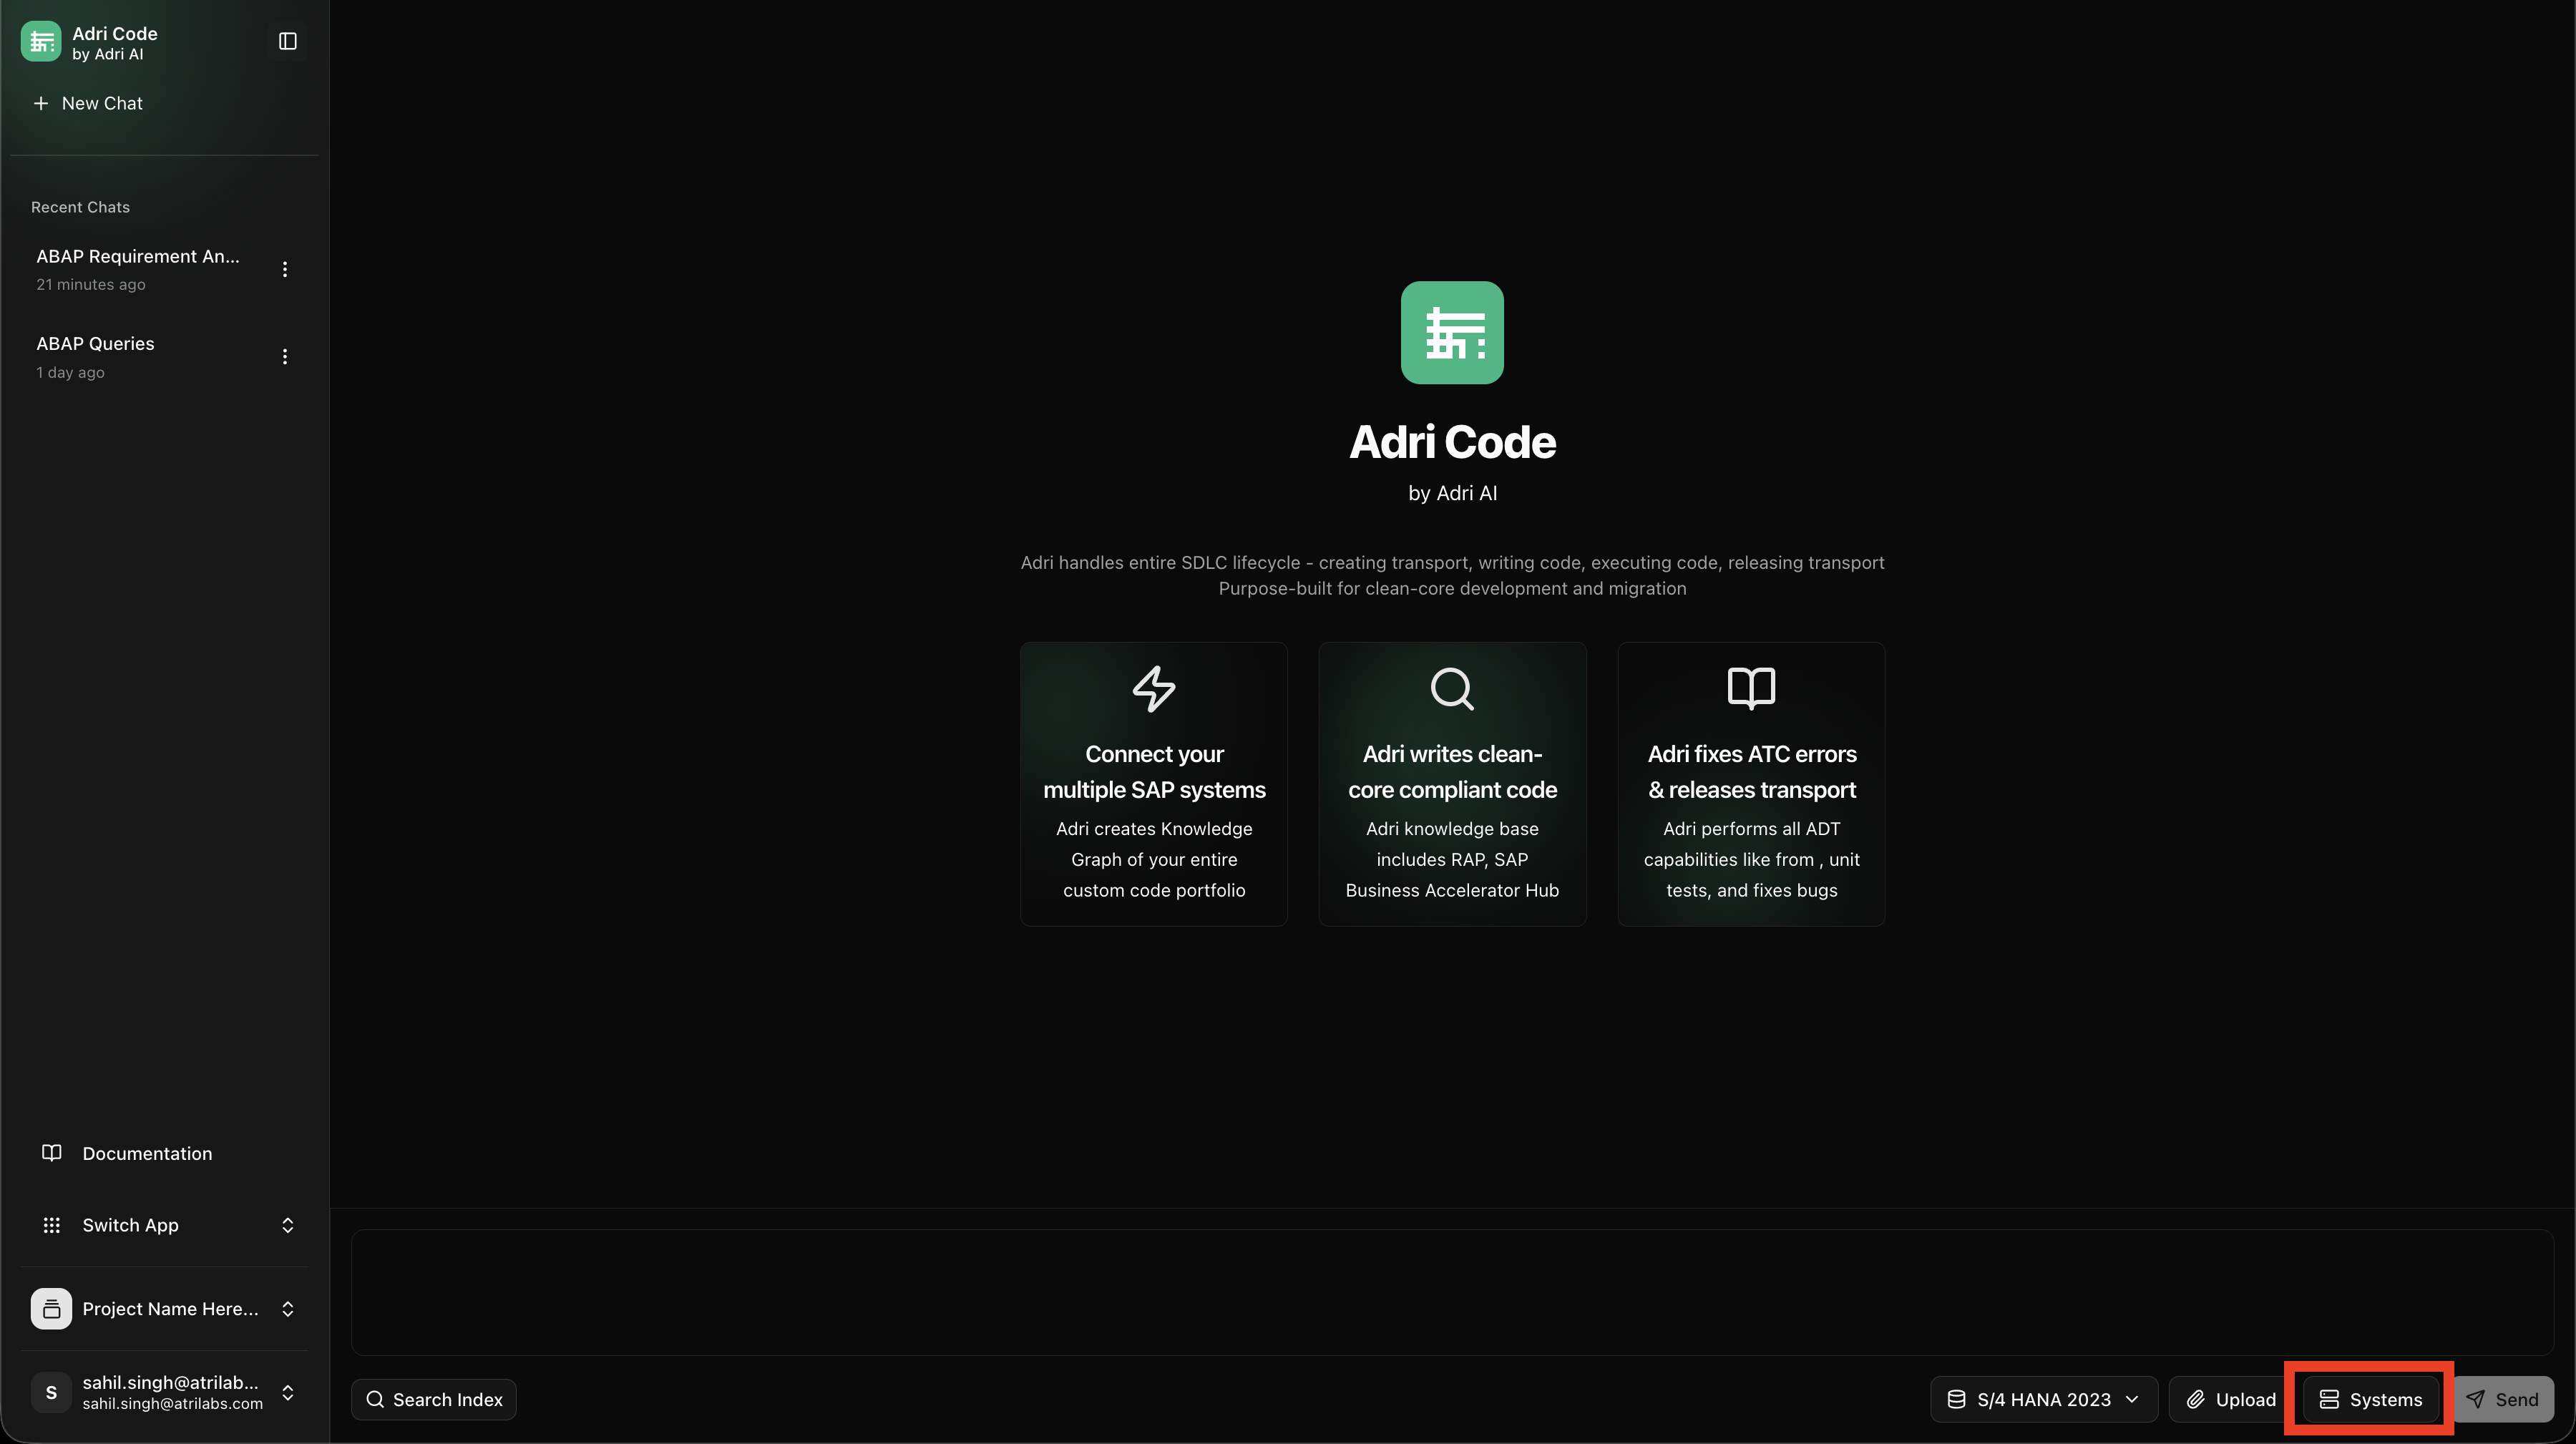
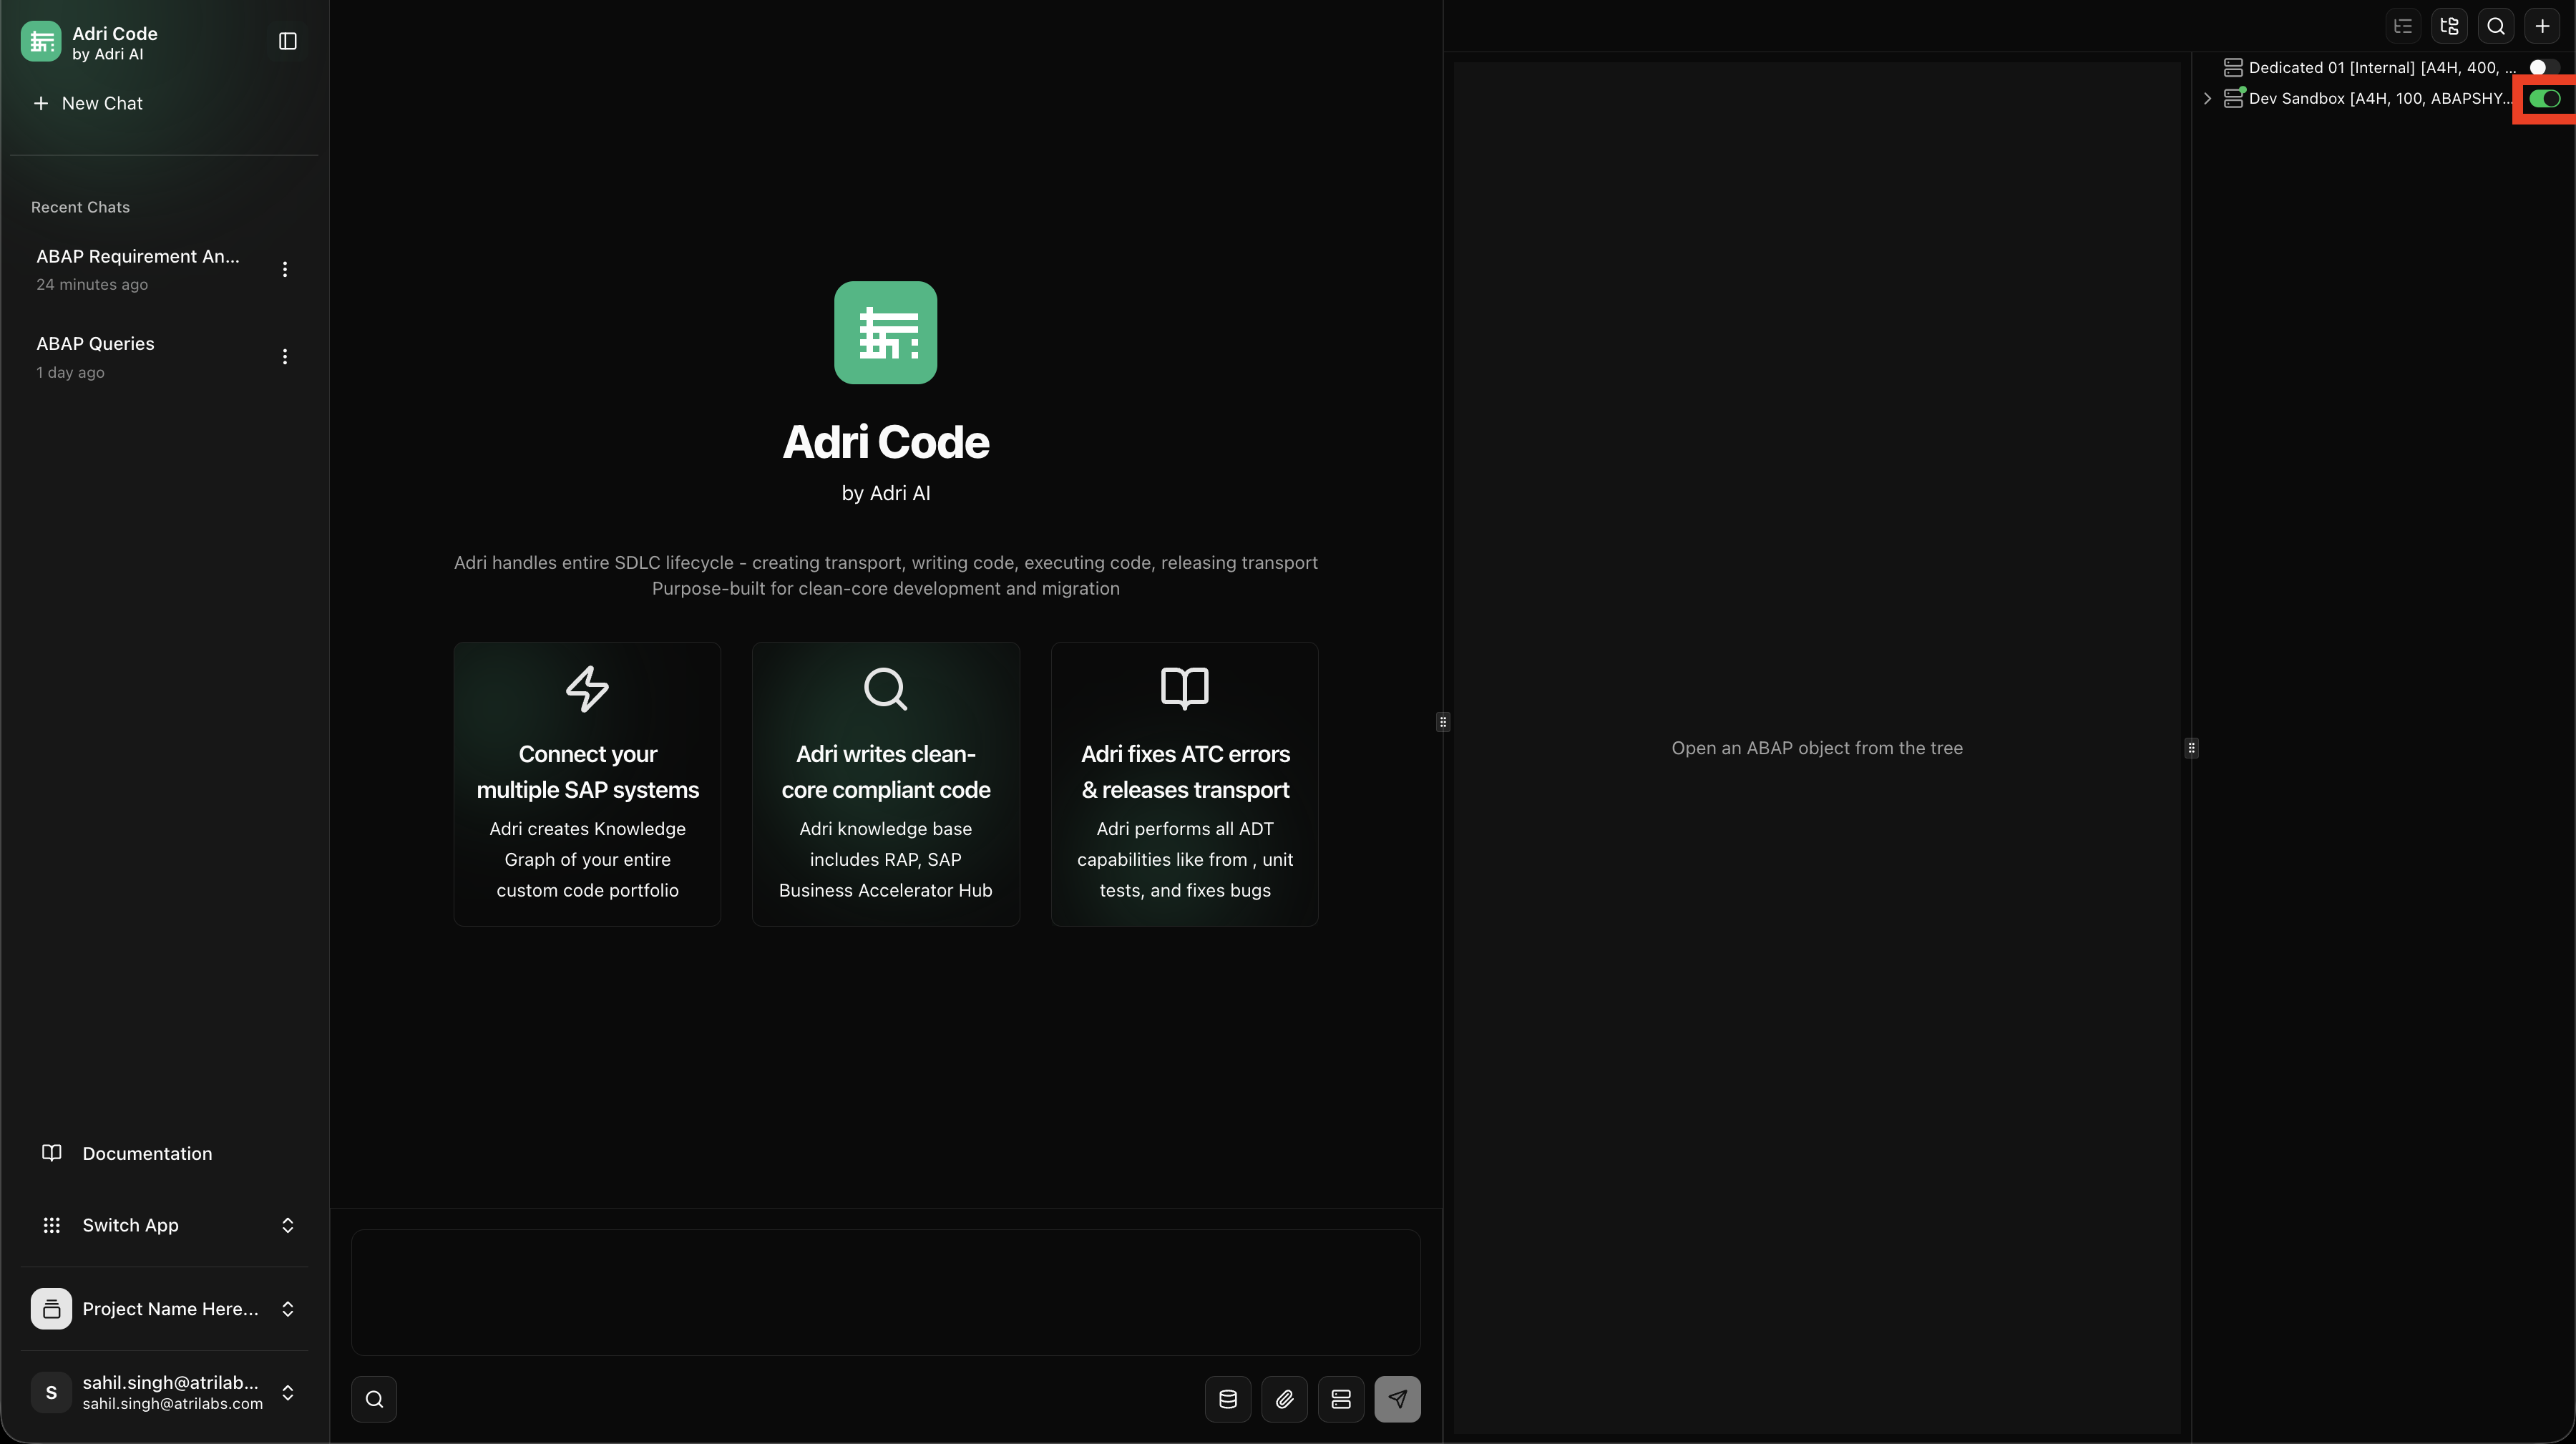
Step 6: Enable Your SAP User
- In the chat composer area, click Systems.
- In the right drawer, locate the SAP user assigned to you.
- Toggle the user ON.
- Wait until the toggle turns green.
Done when: The SAP user toggle is green (active).
Step 7: Run Your First Prompt
In chat, submit a focused prompt:
Analyze this requirement and propose an ABAP implementation plan with impacted objects.
Done when: You receive a response in the context of your selected SAP user.