Upgrade Adri Relay (VPN Users)
Use this guide after you install a newer Adri Relay version.
- If you still need to install Adri Relay first, use Install Adri Relay on your laptop.
- If your SAP system is not connected yet, start with Connect Your SAP System.
In every screenshot, the red box shows exactly where to focus.
1. Clear old relay configuration
After opening the upgraded Adri Relay app:
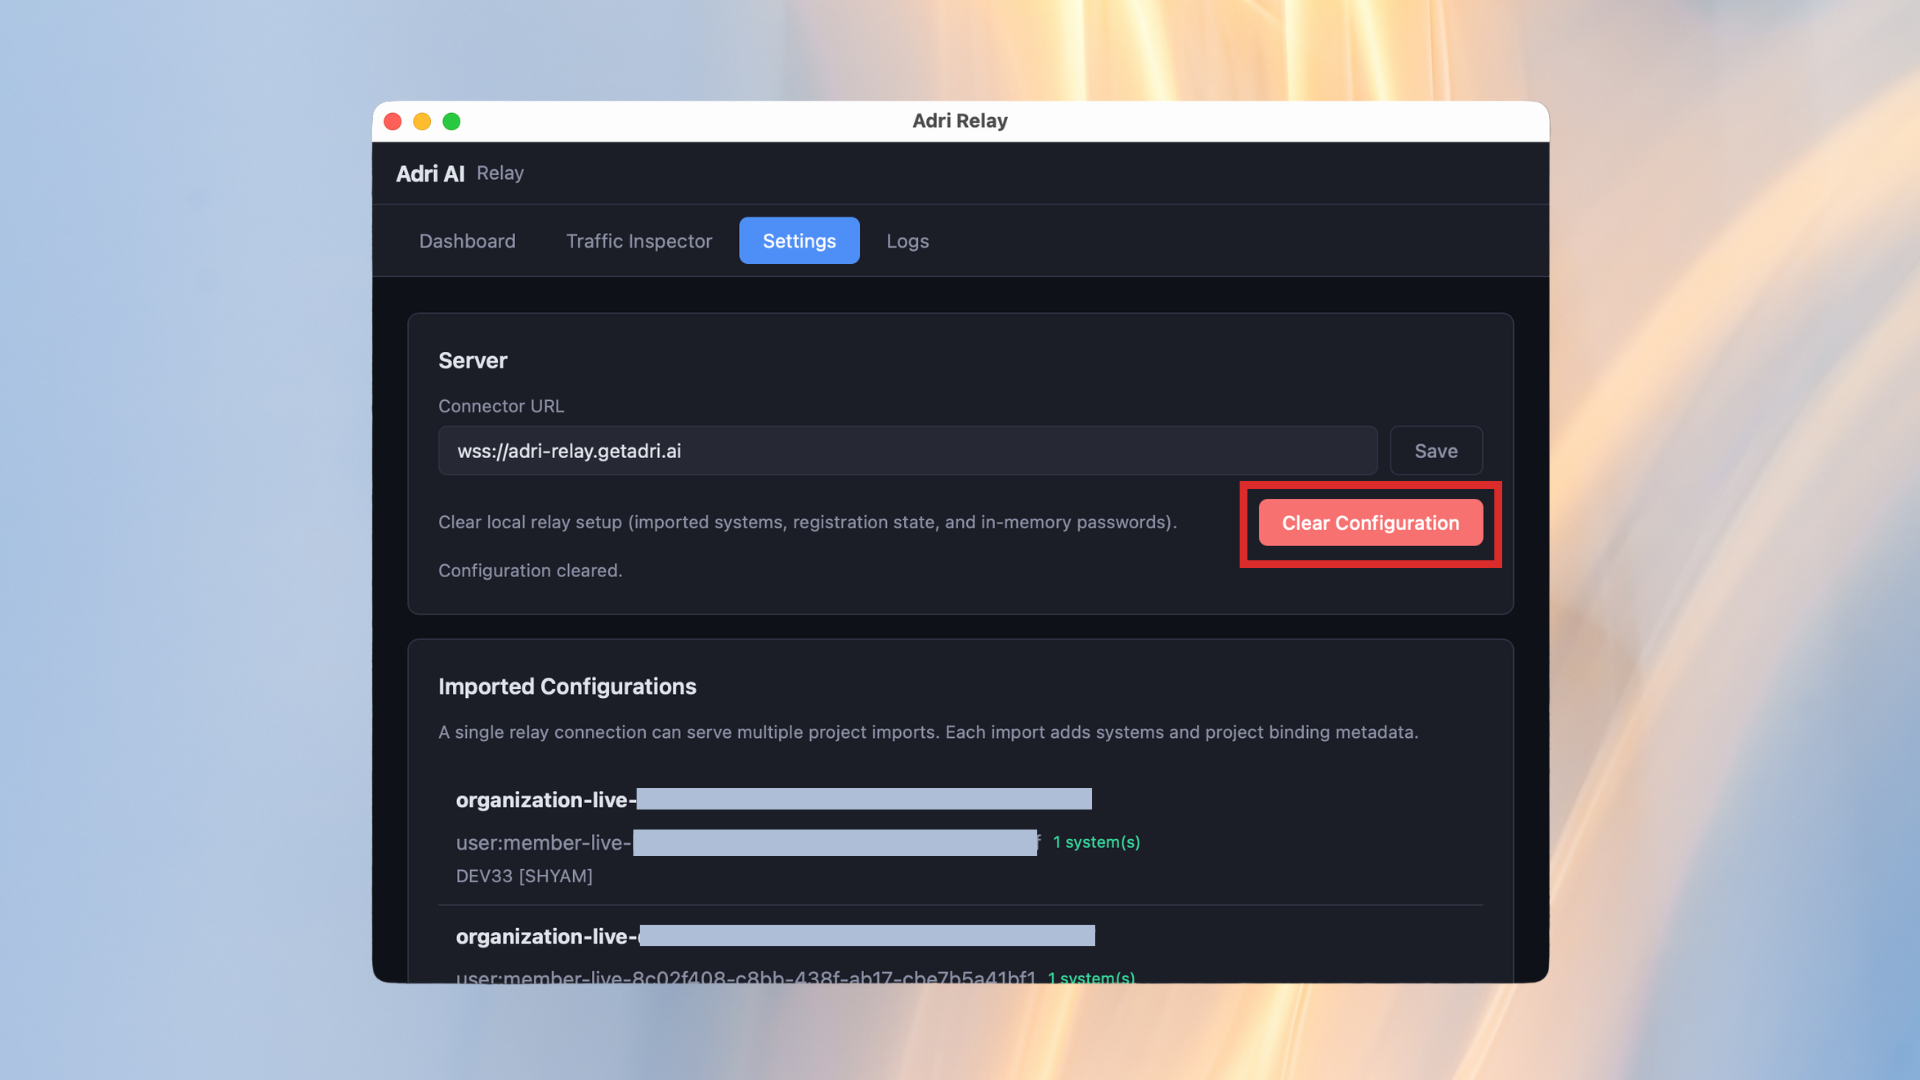
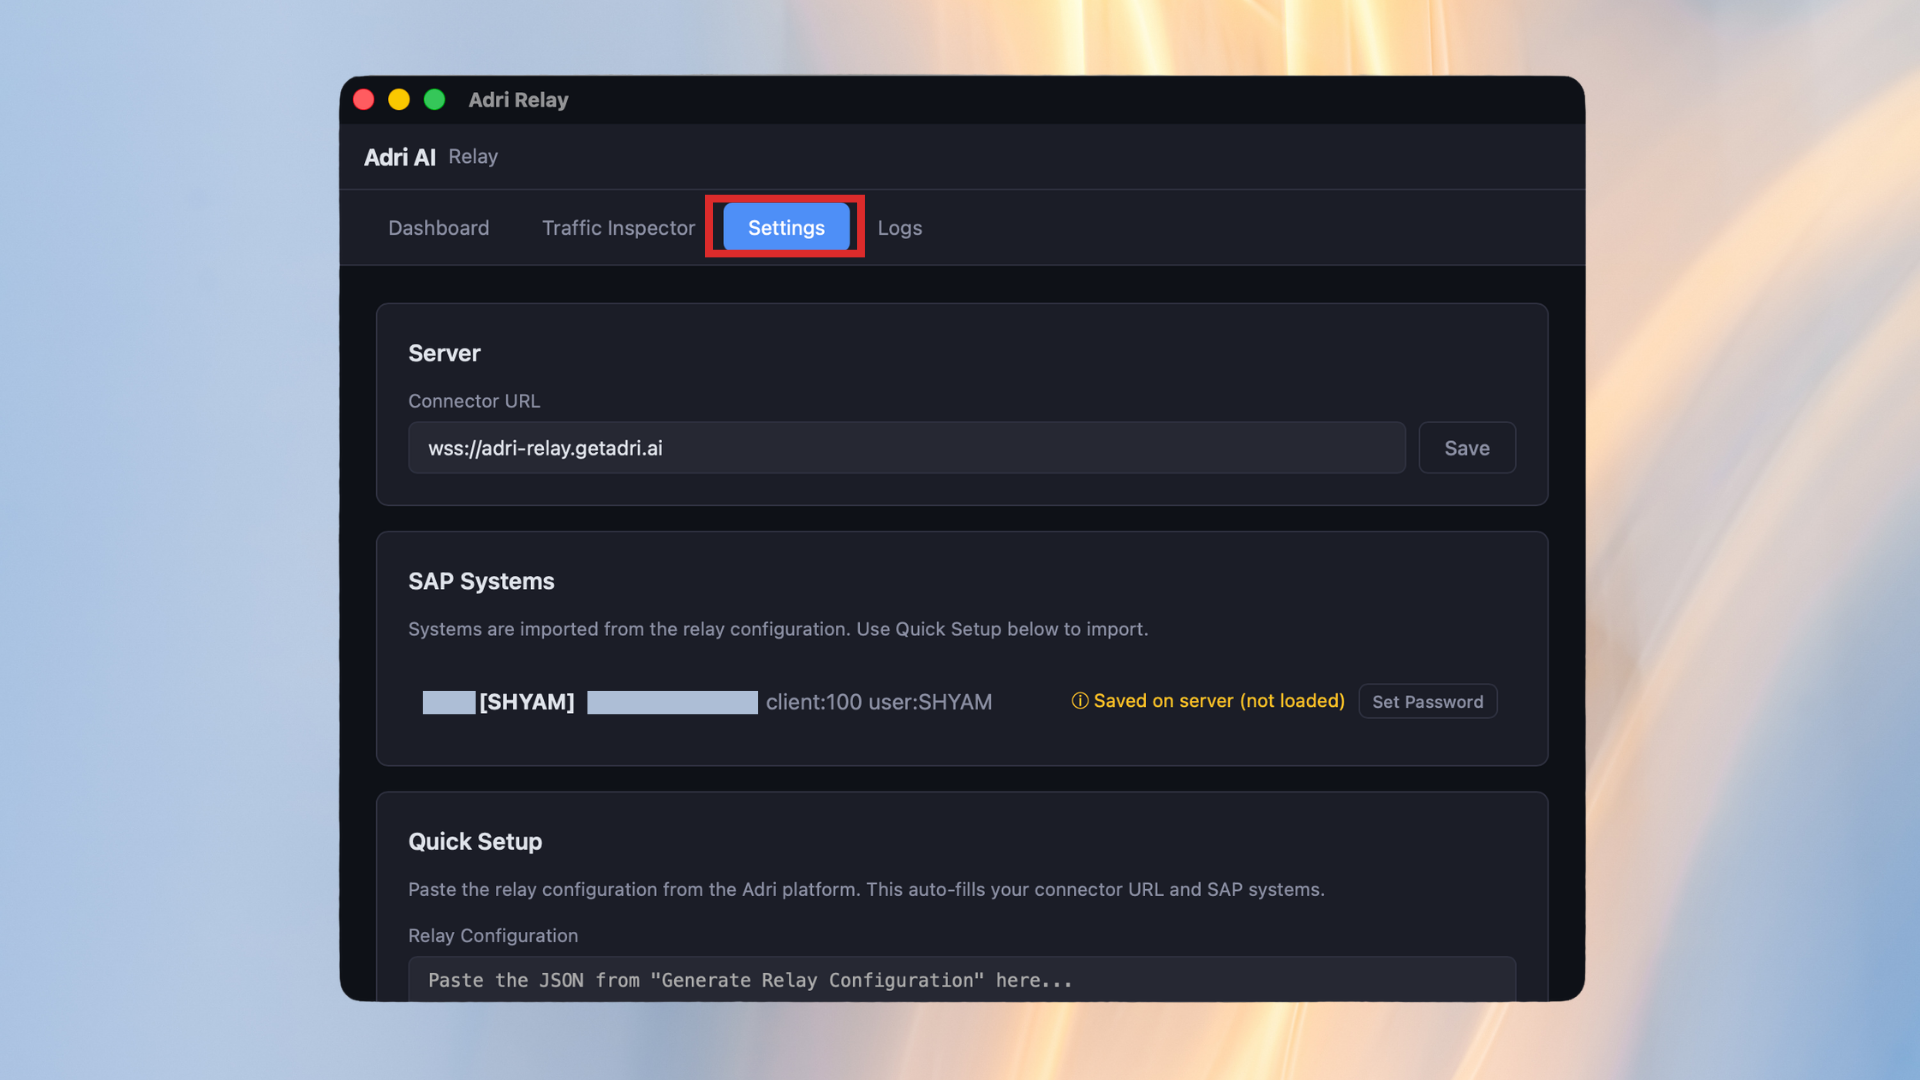
- Open the Settings tab.
- Click Clear Configuration.
2. Configure relay again
This is the same flow as Configure Adri Relay in the VPN users guide.
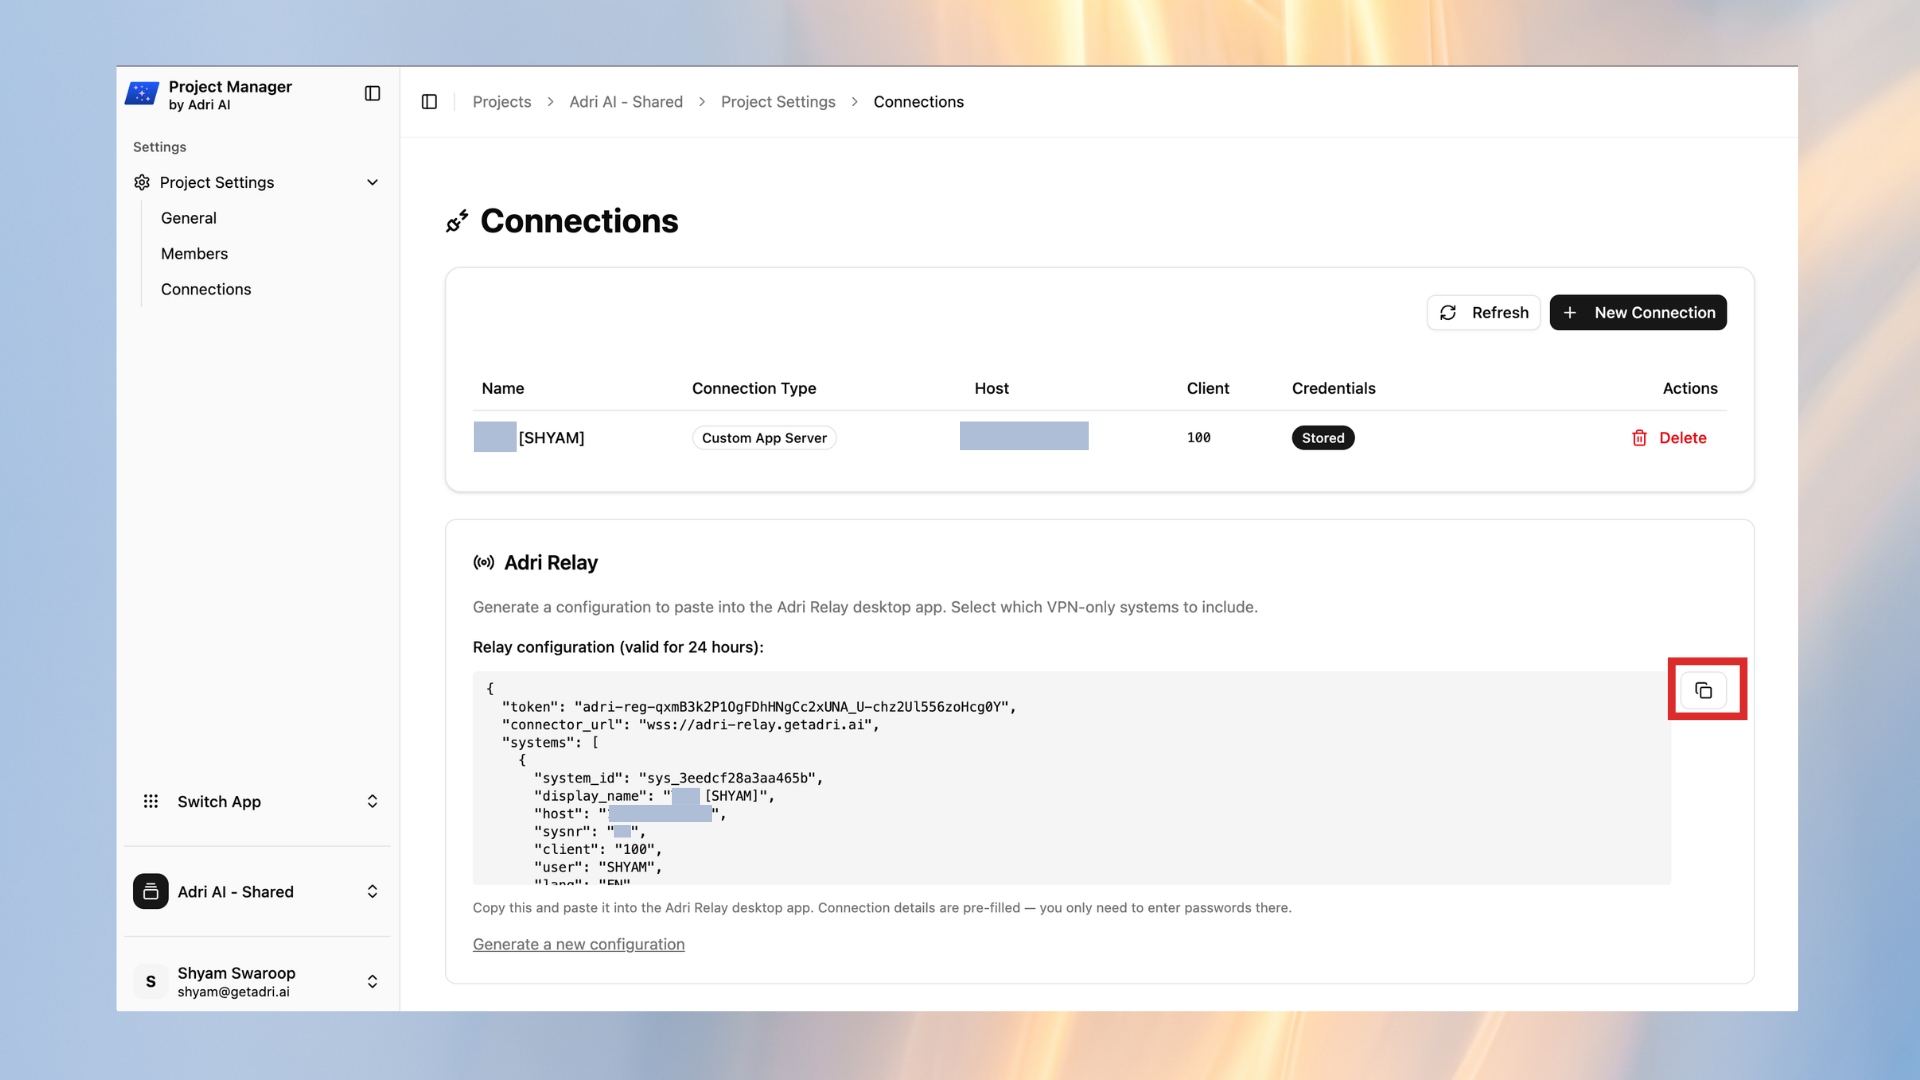
- In Adri Project Manager, open Project Settings and click Connections.
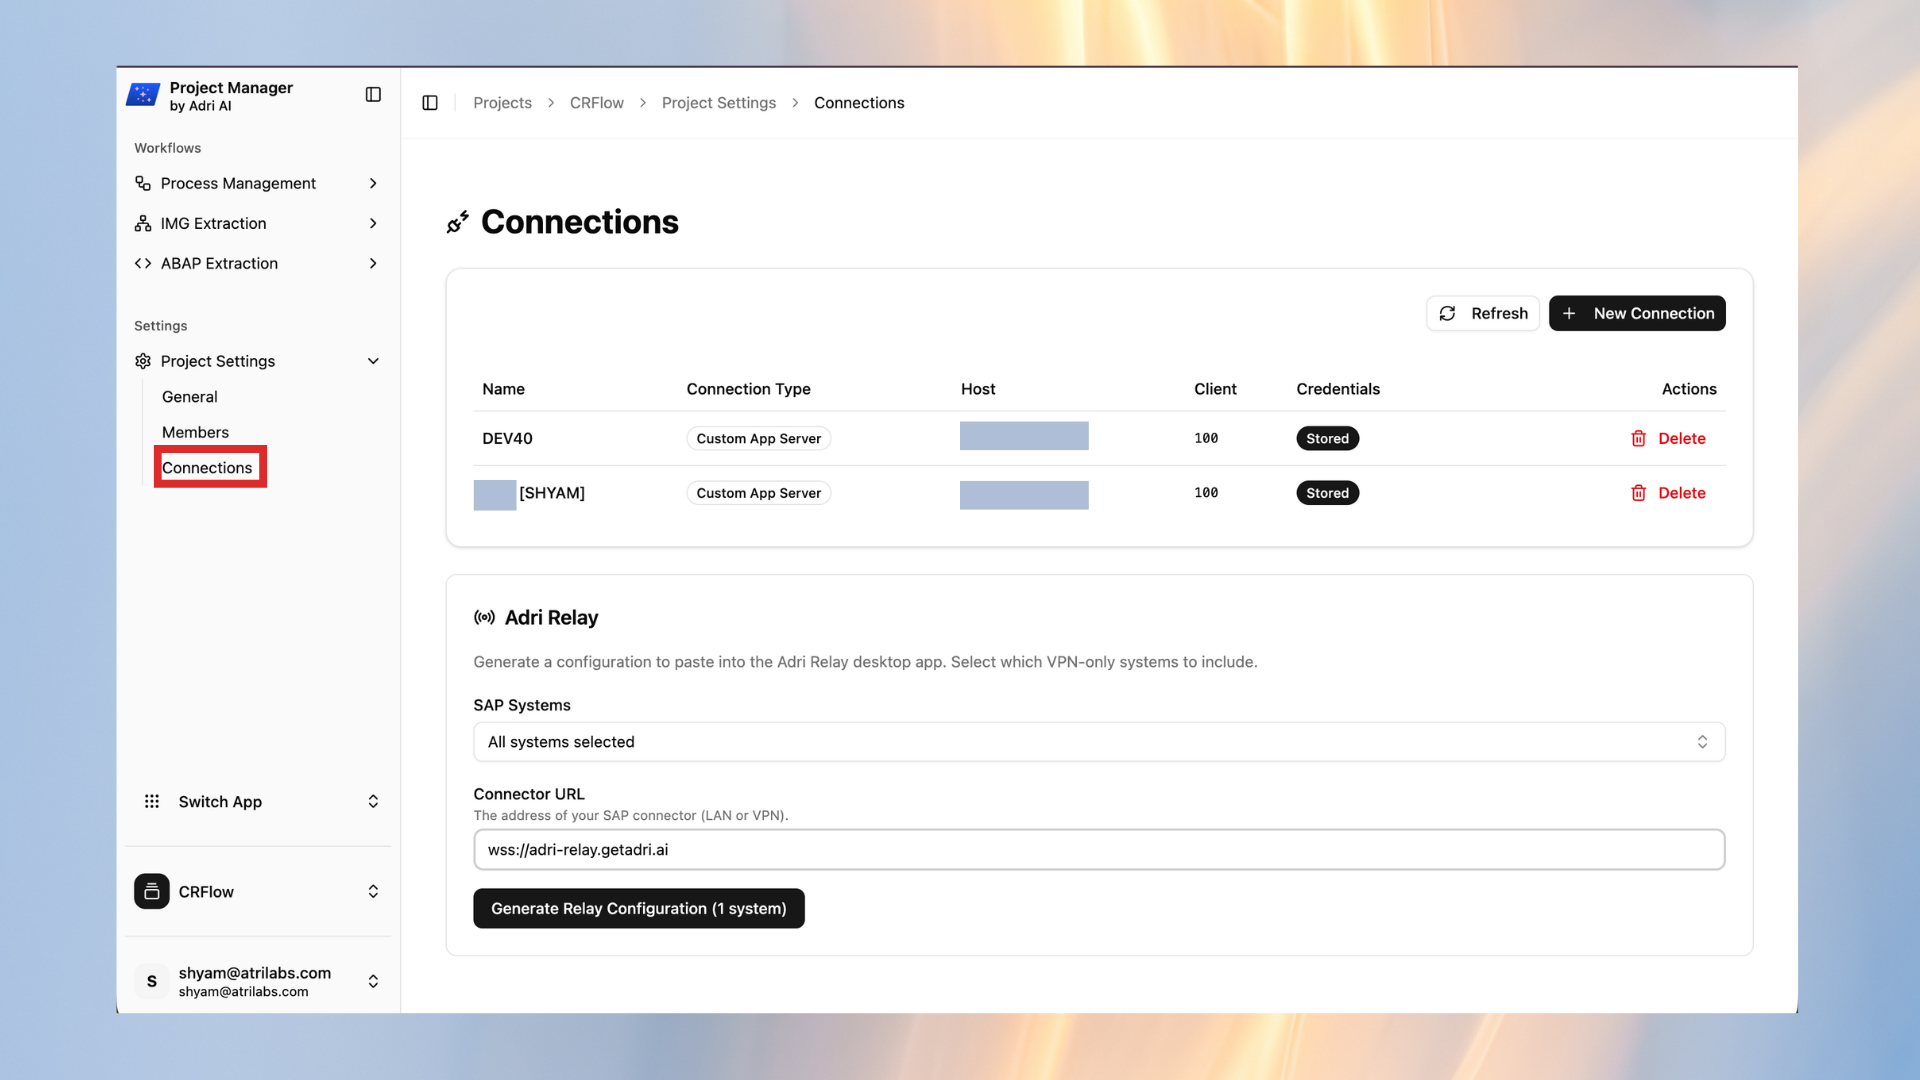
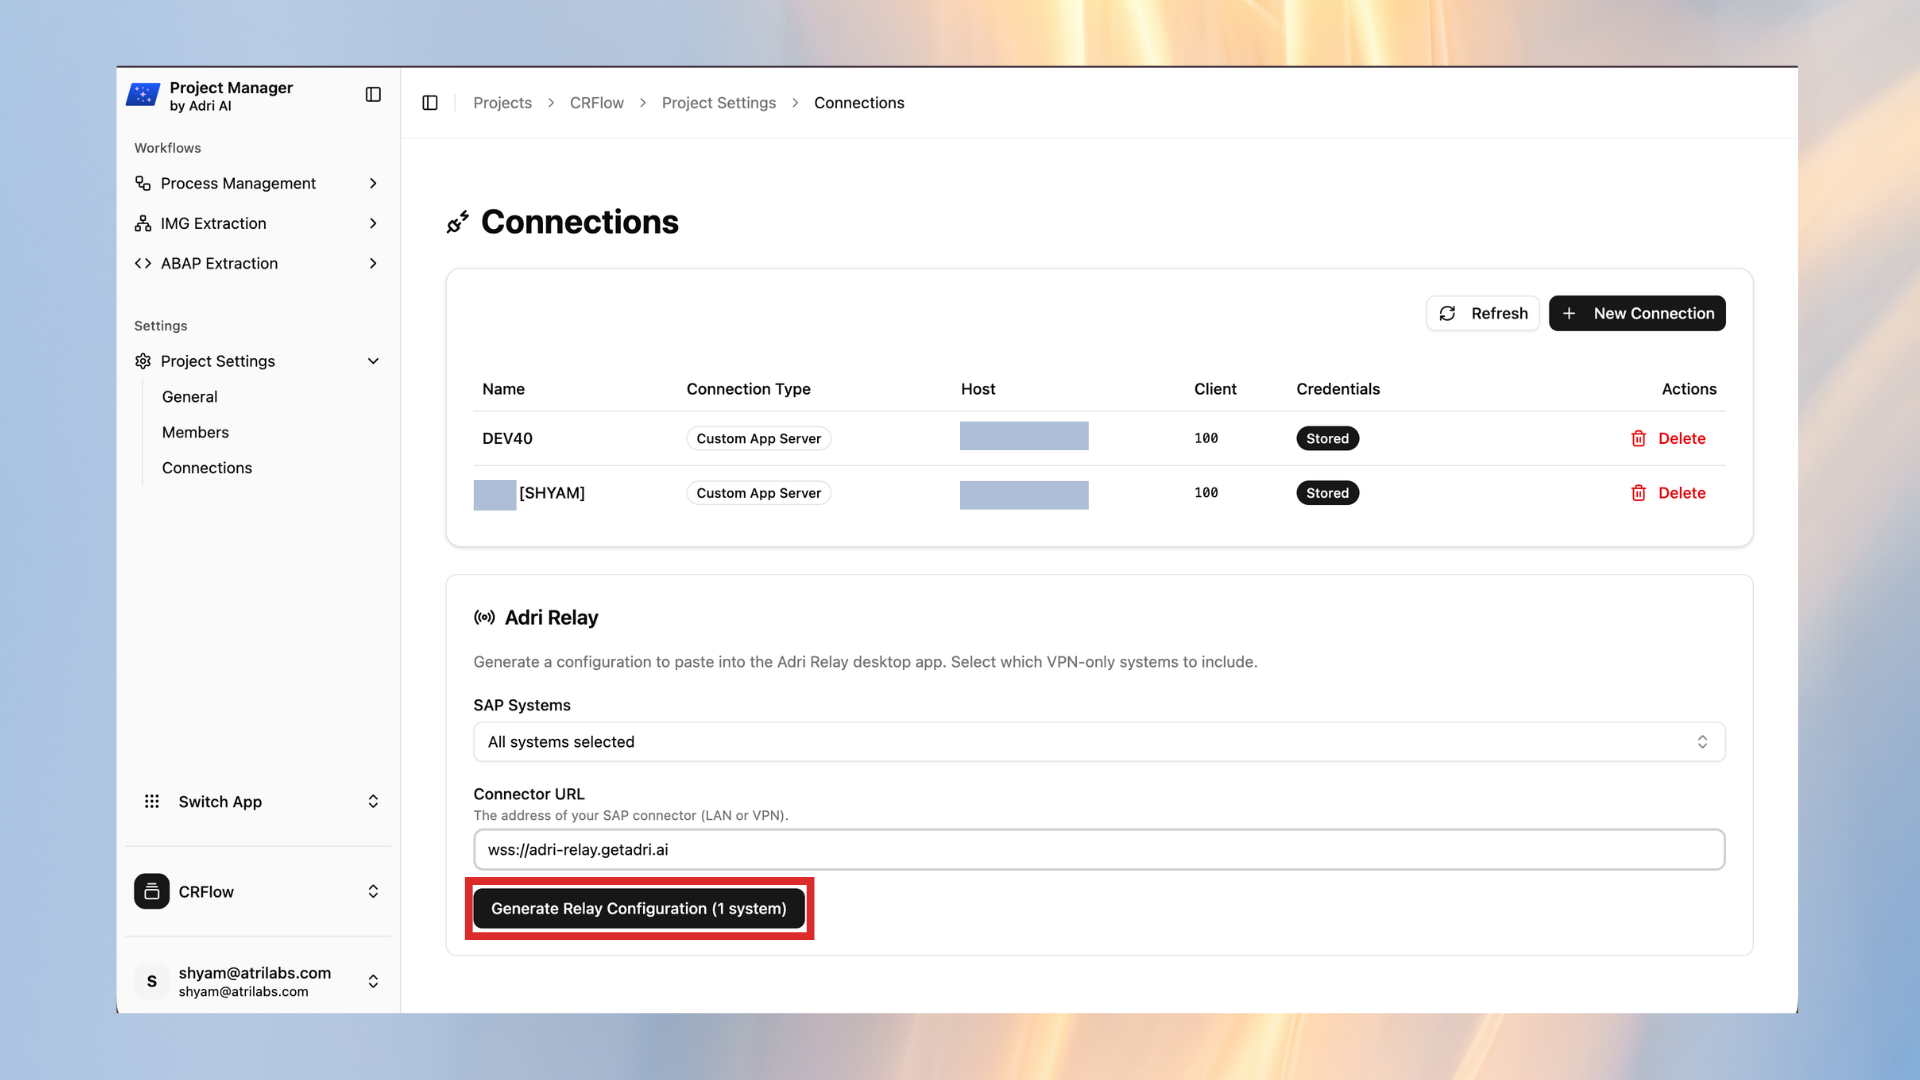
- In the Adri Relay section, click Generate Relay Configuration.
- Copy the generated relay configuration using the copy icon.

- Open the Adri Relay desktop app and go to the Settings tab.
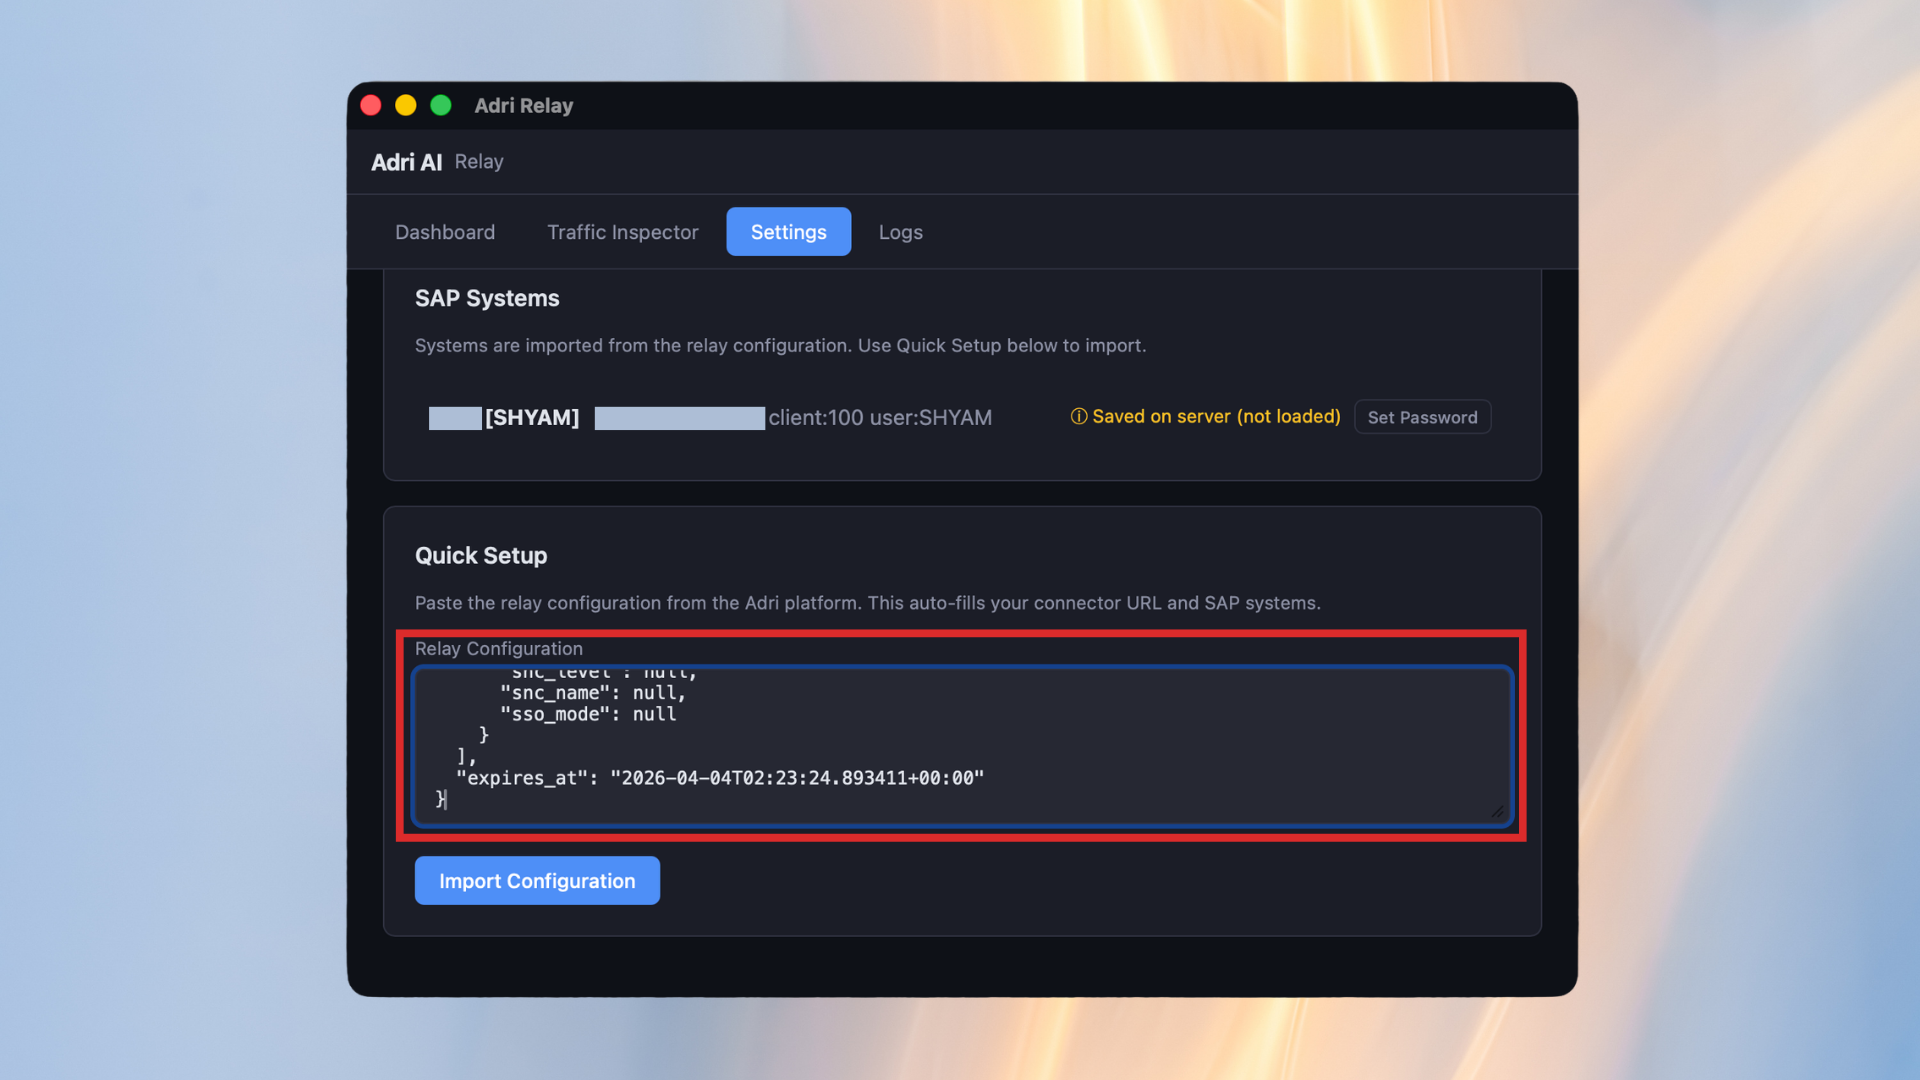
- Scroll to Quick Setup and paste the copied relay configuration.
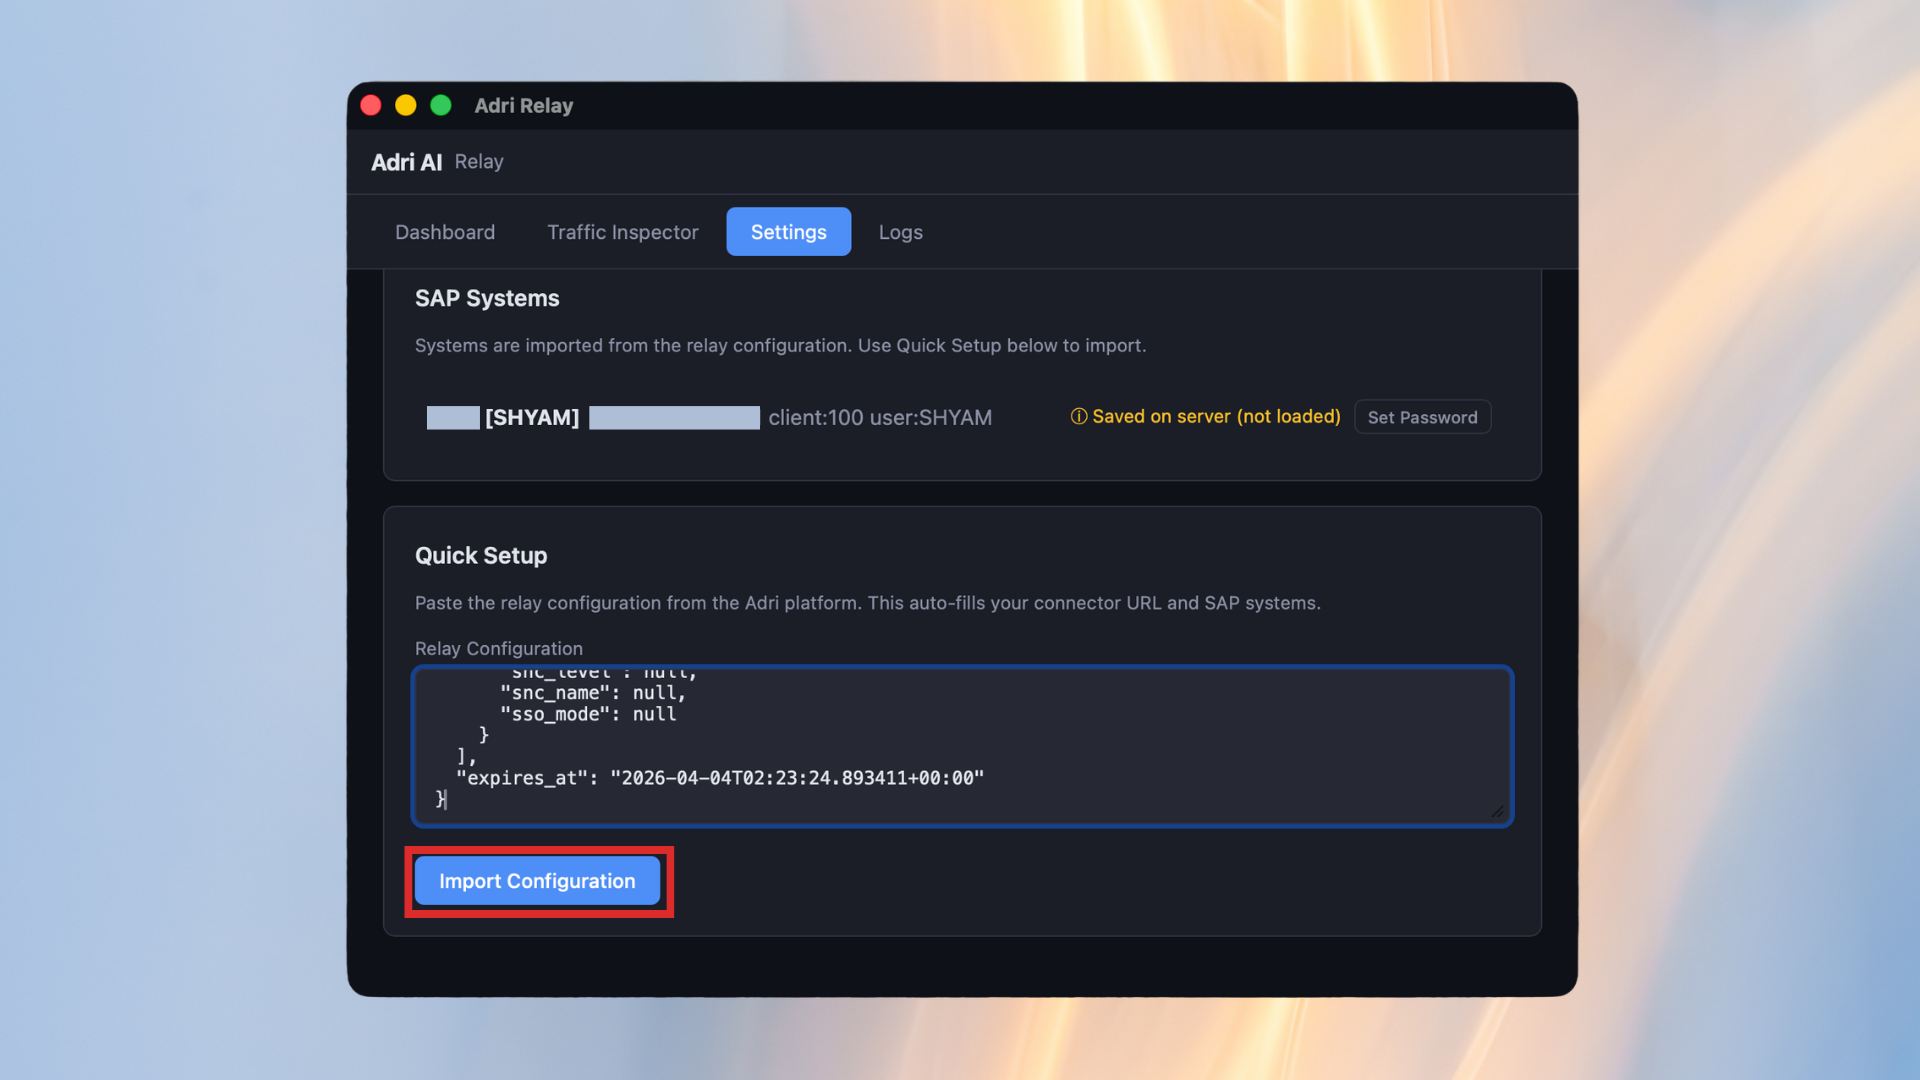
- Click Import Configuration.
- Click Register.
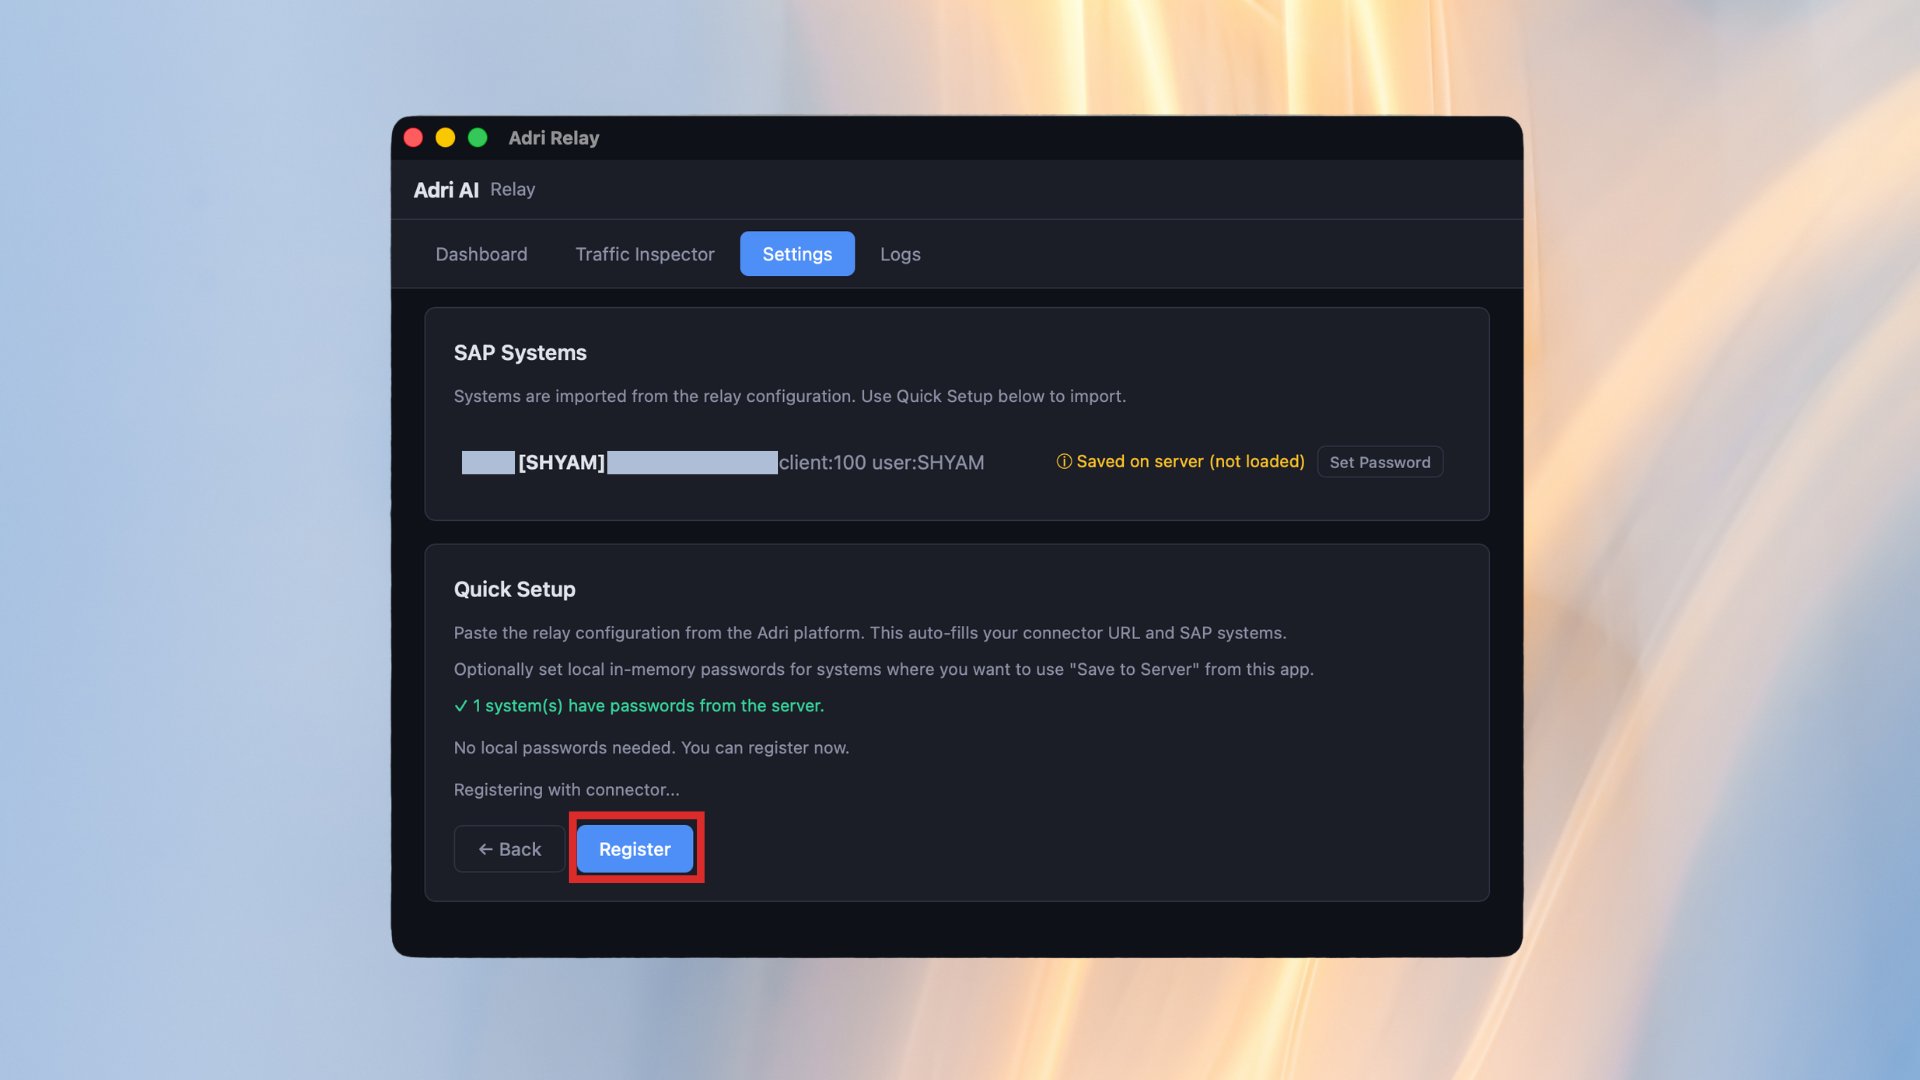
- Wait until you see Setup complete.
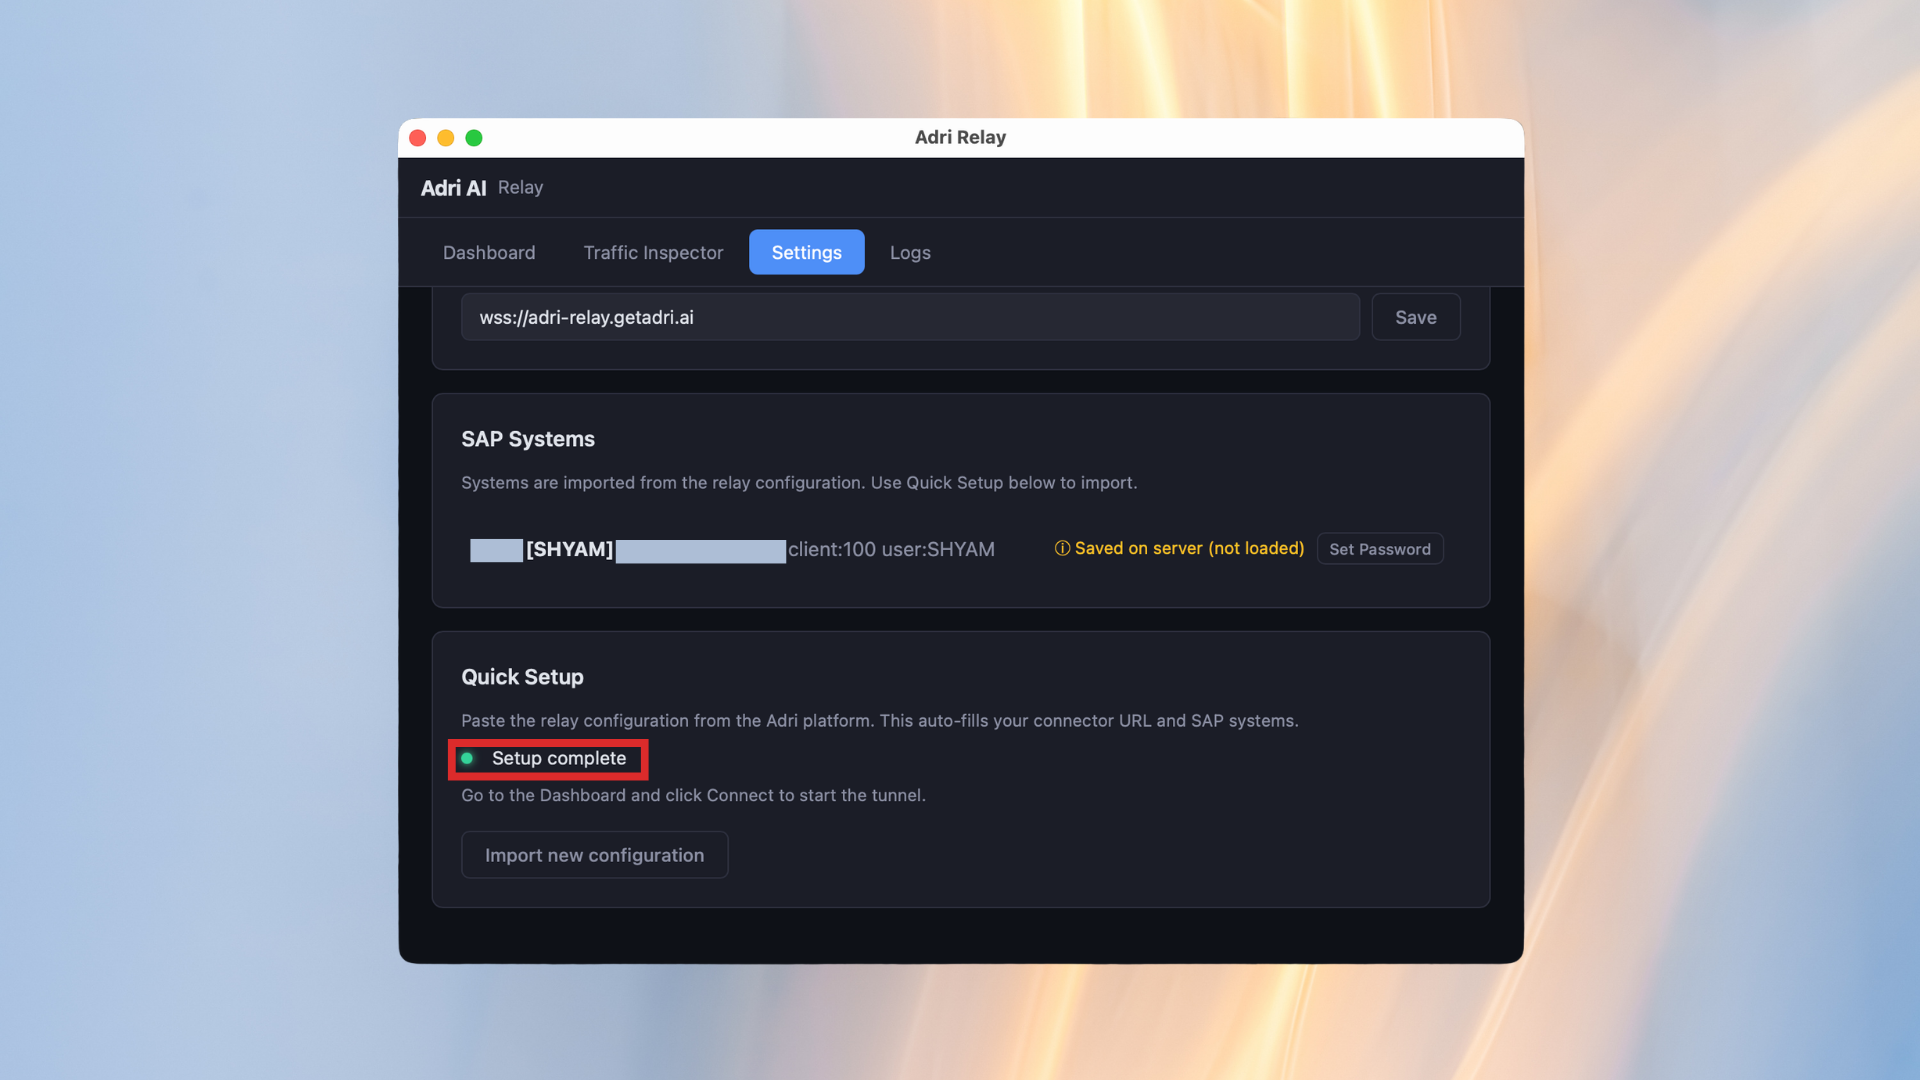
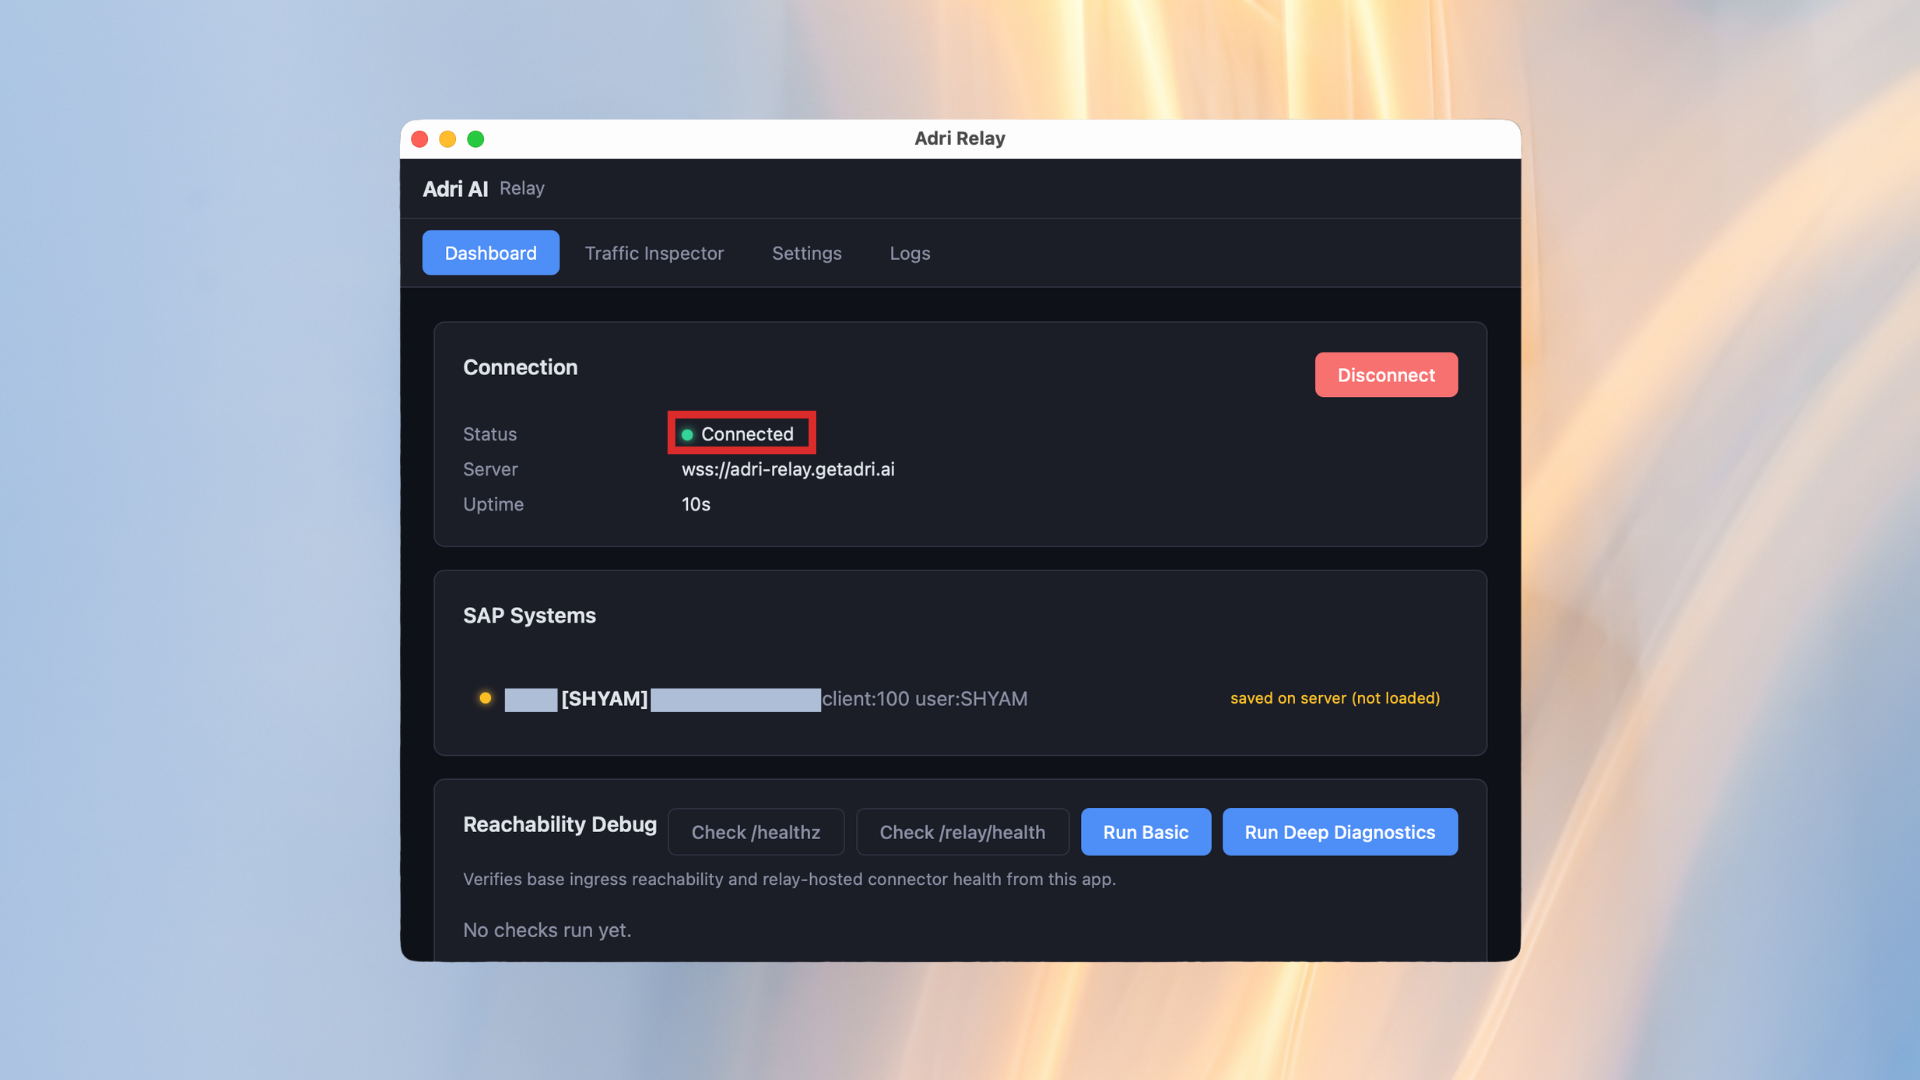
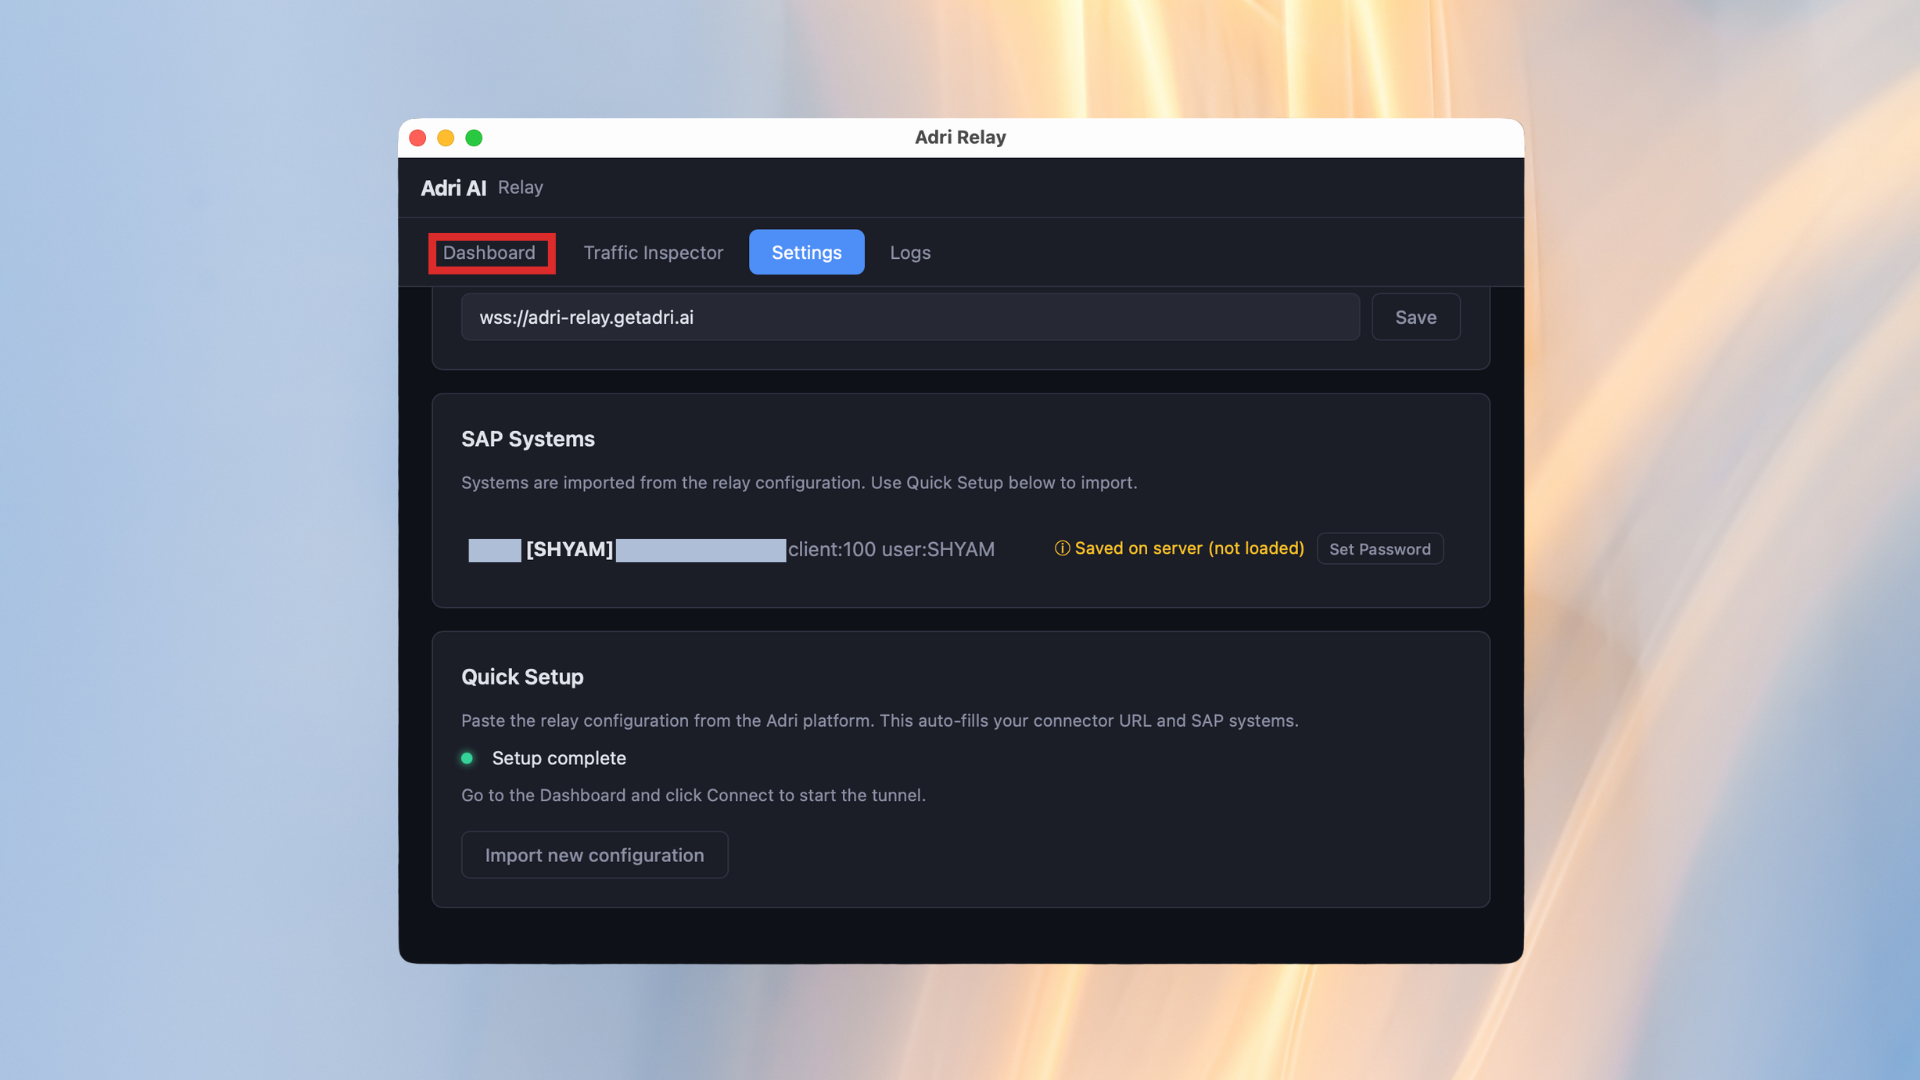
- Open the Dashboard tab.
- Click Connect.
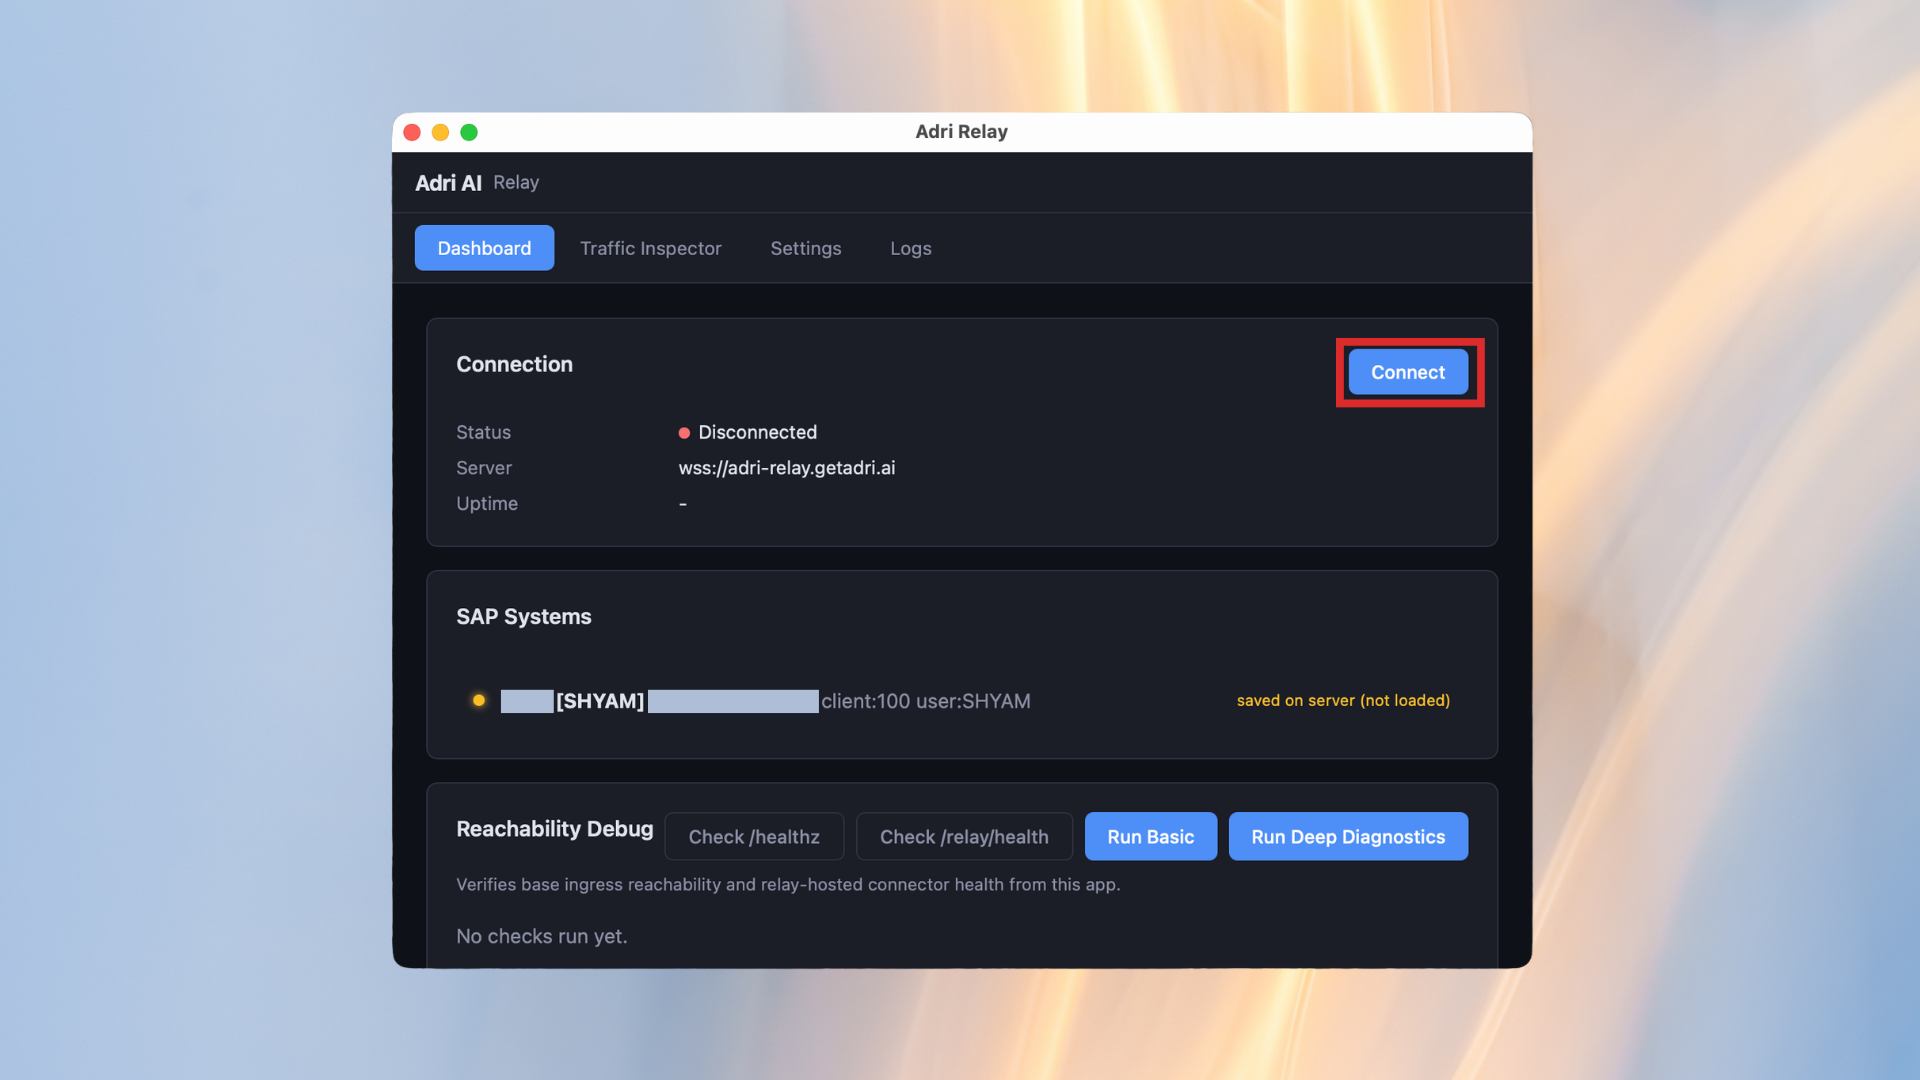
- Confirm the status changes to Connected.